Setting Up Supabase Magic Links
This guide will walk you through the process of setting up Magic Links for passwordless login in your Supabase project. Magic Links provide a convenient way for users to log in by clicking on a link sent to their email address.
Steps to Set Up Supabase Magic Links
-
Enable Magic Links in Supabase:
- Magic Links are enabled by default in Supabase.
- To verify, go to Authentication > Sign In / Up > Auth Providers and ensure that Email is enabled.
-
Configure Site URL and Redirect URLs:
- For localhost:
- Go to Authentication > URL Configuration in Supabase.
- Add
http://localhost:3000to Site URL. - Add
http://localhost:3000/*to Redirect URLs.
- For production:
- Go to Authentication > URL Configuration in Supabase.
- Add
https://your-domain.comto Site URL. - Add
https://your-domain.com/*to Redirect URLs.
- For localhost:
You can add multiple redirect URLs. Be sure to include all domains associated with your SaaS product to ensure proper redirection after authentication.
Steps to Set Up a Custom SMTP Provider (Optional)
-
Set up a custom SMTP provider Resend.com (opens in a new tab):
- The built-in email service of Supabase has a fixed rate limit of 3 emails per hour. For higher limits, set up your own custom SMTP provider.
- Resend offers a free plan allowing up to 3000 emails per month, which is suitable for testing and some production scenarios.
-
Configure Resend.com for custom SMTP:
- Sign up at Resend.com (opens in a new tab).
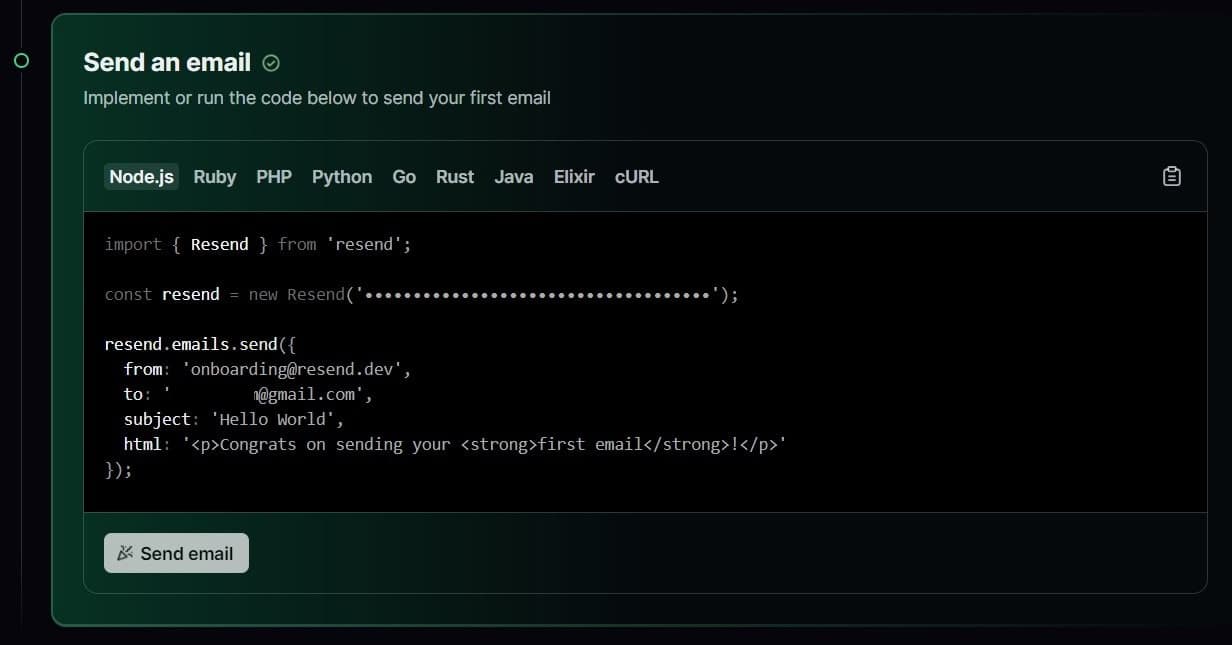
- Click on Add API Key and save the generated API key securely.

- Click on Send email to send your first test email and verify the setup.
- Go to Domains and click on Add Domain.
- Select a region (only us-east-1 is available in the free plan) and enter your domain. Using a subdomain for email (e.g., updates.yourdomain.com) is recommended.
- Click Add to add the domain.
-
Verify your domain in Resend:
- Log in to your DNS hosting provider (e.g., Cloudflare, AWS Route53, Namecheap).
- Add the provided DNS records to your domain's DNS settings, ensuring the values are exact.
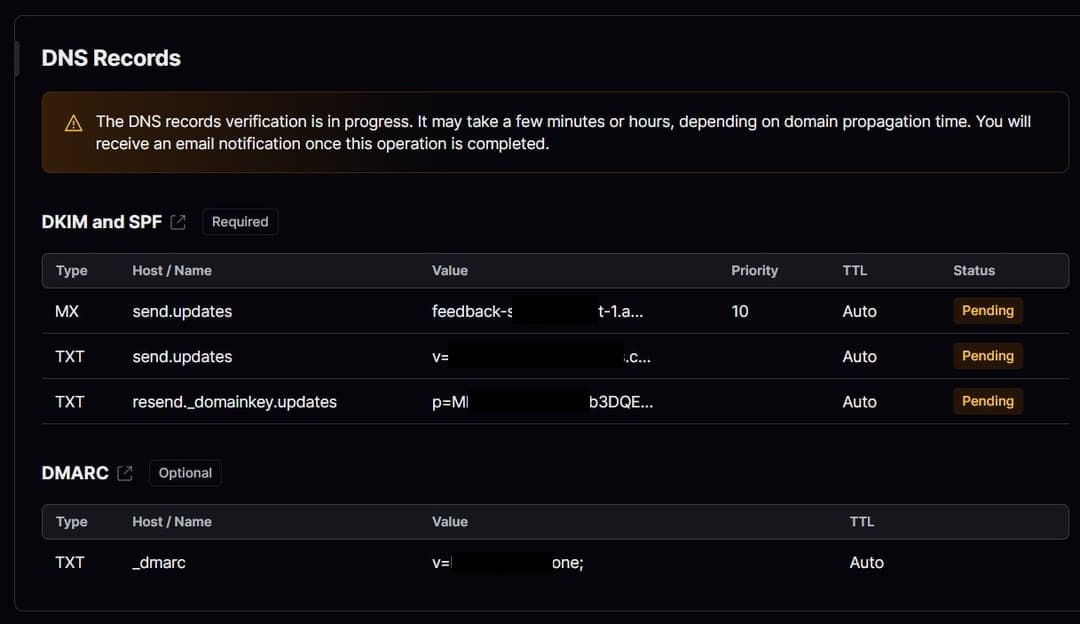
- Click on the verification button in Resend. It may take some time for your DNS to be verified.
-
Configure custom SMTP settings in Supabase:
- Go to Supabase > Authentication > Emails > SMTP Settings.
- Enable Custom SMTP.
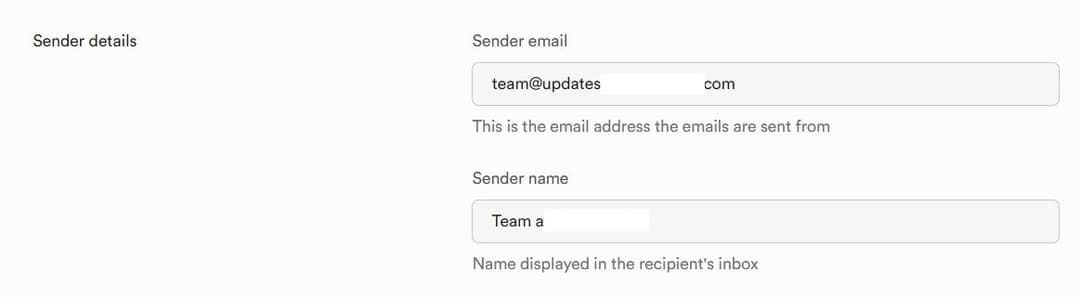
- Enter your sender email (e.g., team@updates.yourdomain.com) and sender name.
- Fill in the SMTP provider settings:
- Host: smtp.resend.com
- Port: 465
- Username: resend
- Password: Use the saved API key from Resend. If lost, create a new API key in Resend with sending access.
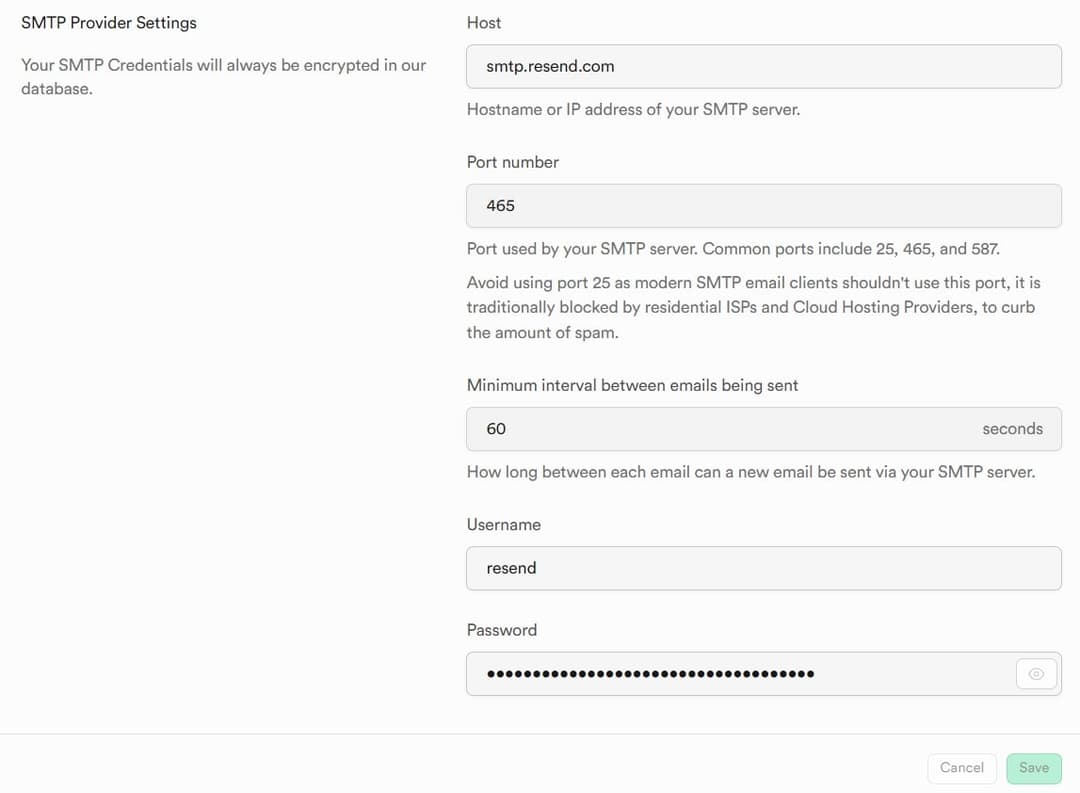
- Save the settings.
-
Adjust the rate limit (if needed):
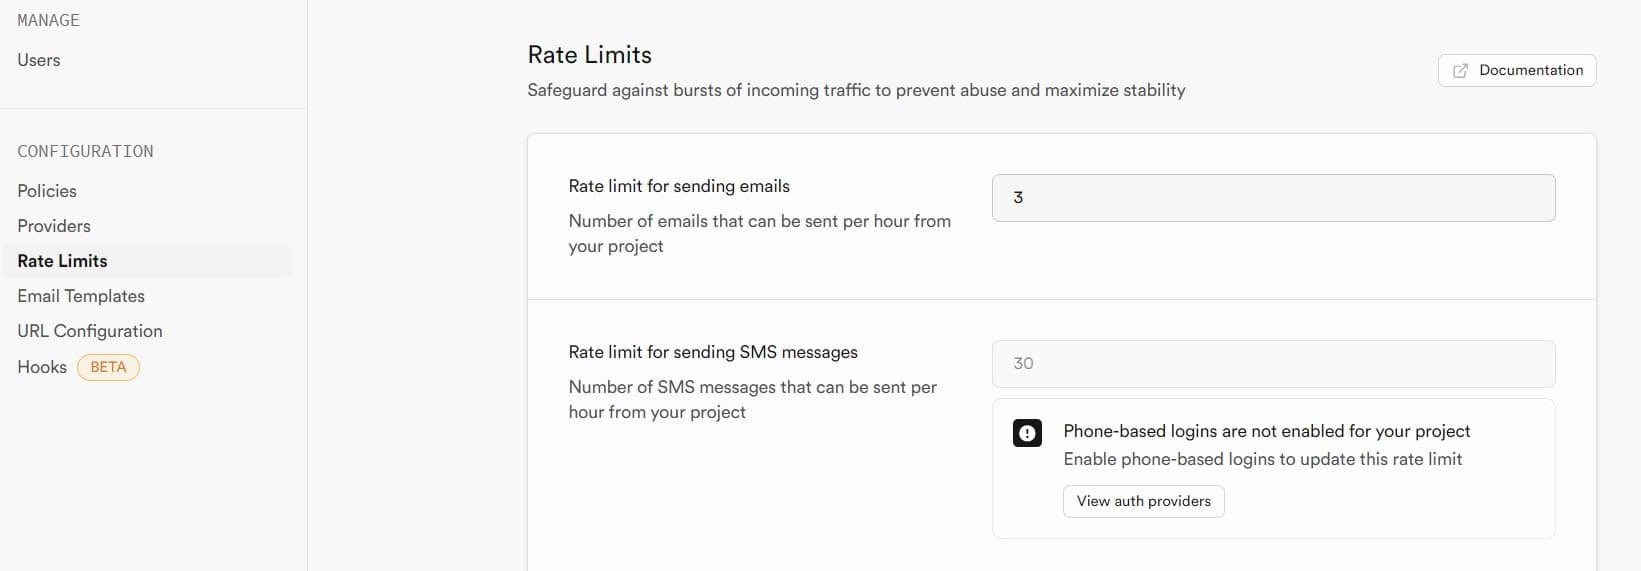
- Go to Authentication > Rate limits in Supabase.
- Adjust the rate limit for sending emails if required. You can set it to 100 or more emails per hour to avoid rate limit issues.
That's it! You have successfully set up Supabase Magic Links for passwordless login. Users can now log in by clicking on the Magic Link sent to their email address.