Meta Ads
Meta Ads are paid advertisements where you pay Meta to promote your products primarily on Facebook and Instagram. It’s currently one of the best ad platforms available. In this section, we'll cover how to set up Meta Ads with StartupBolt.
To run ads on Facebook or Instagram, you need an ad account. Ad accounts can be under a business portfolio or linked to your personal Facebook profile. Once you have an ad account, you can start running ads.
Meta frequently updates its platform design, so it’s challenging to provide detailed instructions on creating an ad account. However, if you have a Facebook account, you’ll be able to figure it out easily.
Conversion Tracking
To effectively measure the performance of your advertising campaigns, you need to track their performance. When a conversion or click happens, Meta needs to attribute that event to a specific user.
Traditionally, Meta used something called the Meta Pixel for tracking, but due to privacy regulations, especially in Europe and on Apple devices, pixels alone are not as effective. To overcome these limitations, Meta now recommends using the Conversion API alongside the Meta Pixel.
The Conversion API is server-to-server, meaning it sends data directly from your server to Meta, which makes it more reliable. When you implement both the Meta Pixel and Conversion API, you need to ensure event deduplication so that a single event isn’t counted twice (once via pixel and once via the API). This combination is the best approach for accurate tracking.
According to Meta, using the Conversion API can reduce advertising costs by around 13%, so we will definitely implement it.

Let’s proceed.
Steps to Set Up Conversion Tracking in Meta
-
Access Events Manager
- Visit Business Portfolio (opens in a new tab).
- Go to All Tools > Events Manager.
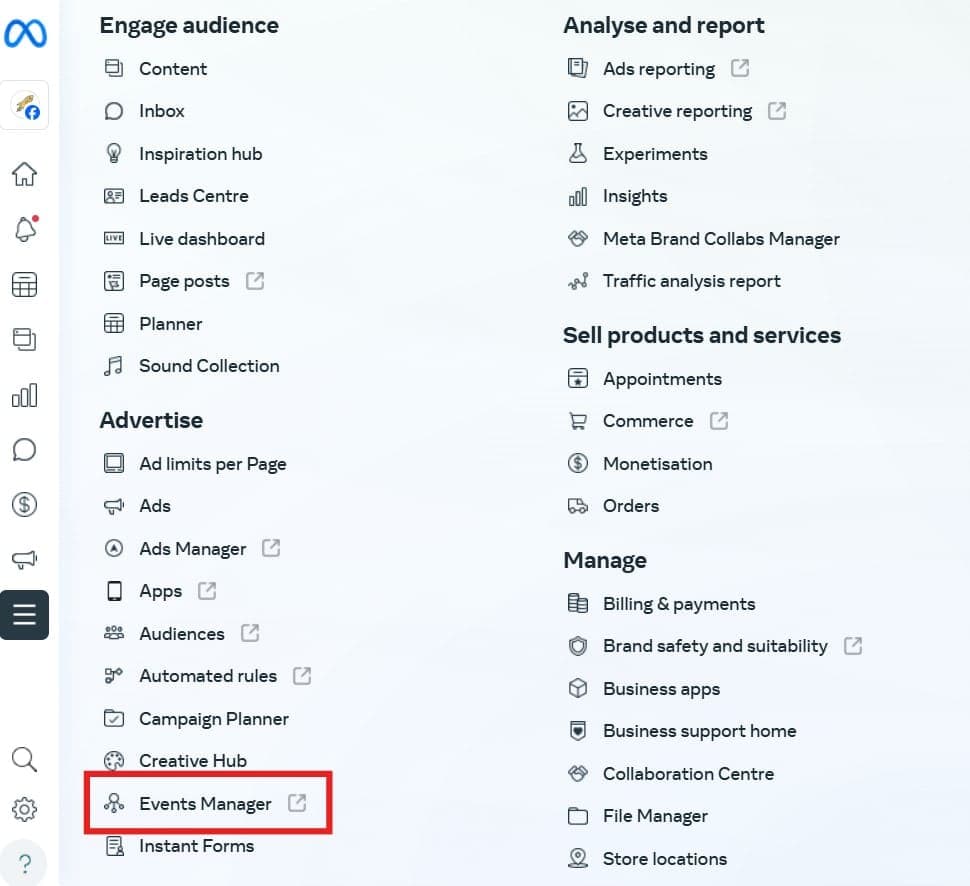
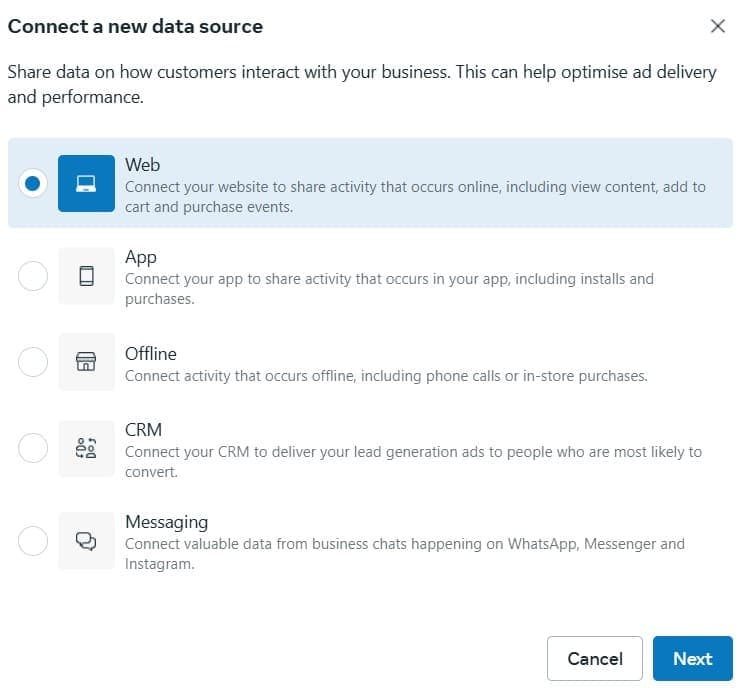
- Now, connect a new data source. The main data sources we will implement are Pixels and Conversion API. Click on Connect a New Data Source and select Web.
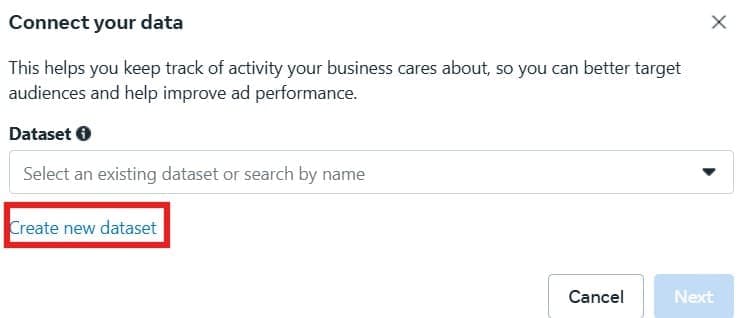
- If you already have a dataset, select it from the dropdown. Otherwise, click Create New Dataset.
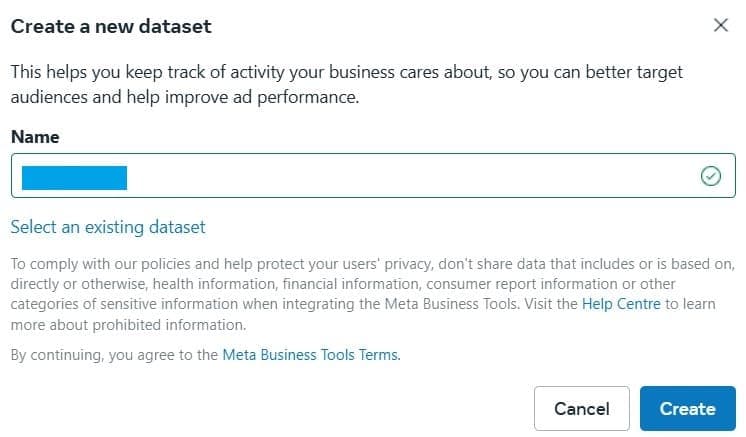
- Name your dataset, and click Create.
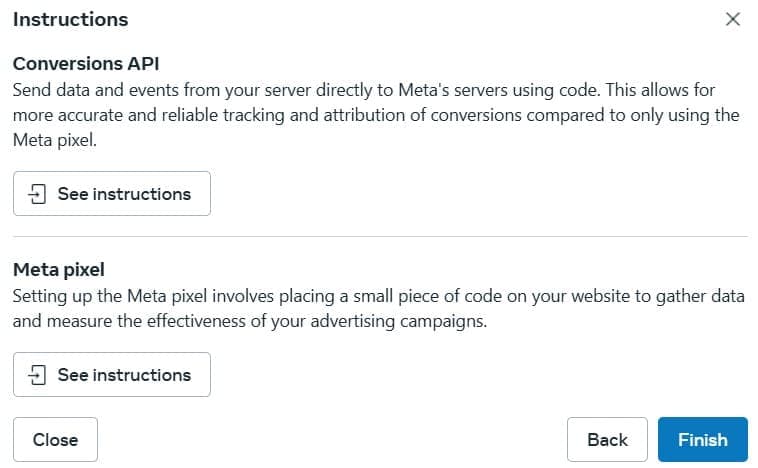
- Next, choose how to connect your website. Select Connect Manually, then choose Meta Pixel and Conversions API and click Next.
- Finally, click Finish to complete the setup.
-
Set Up Meta Pixel
-
Let's start by implementing the Meta Pixel. You can do this in one of two ways; choose whichever method works best for you.
- First Method:
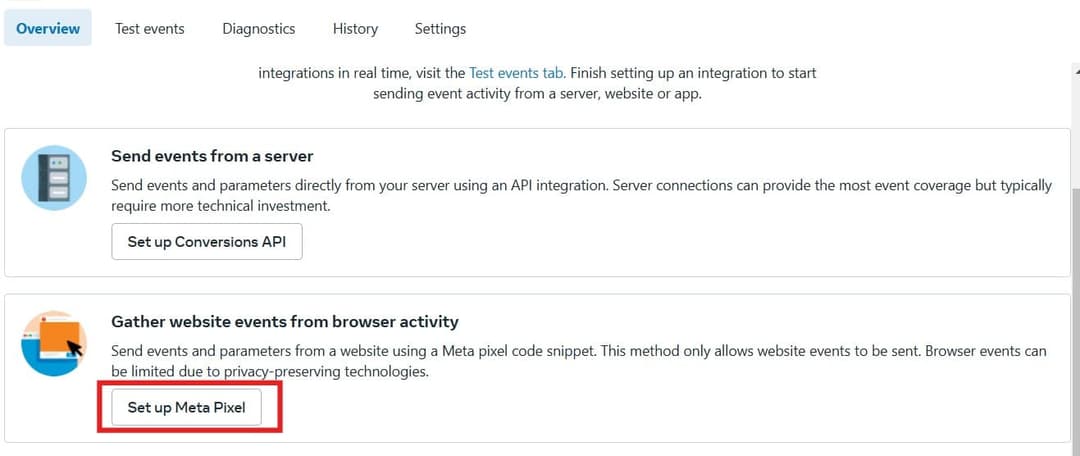
- In the Data Sources tab in Events Manager, click on "Set up Meta Pixel."
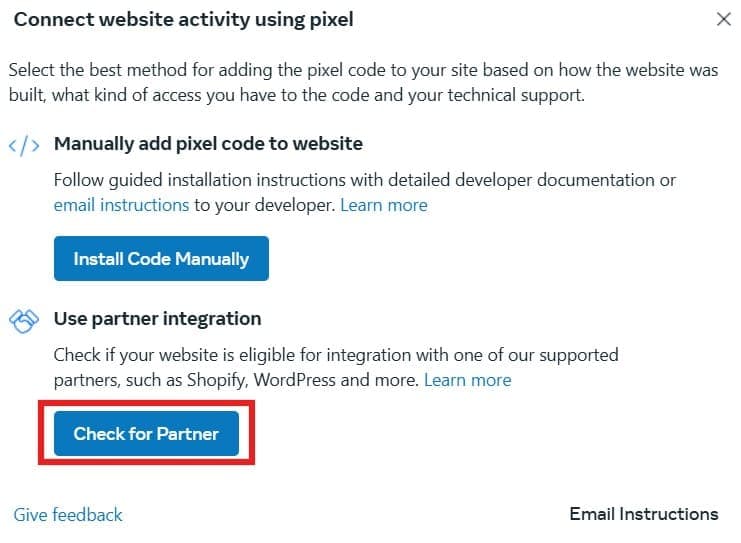
- Click on "Check for Partner."
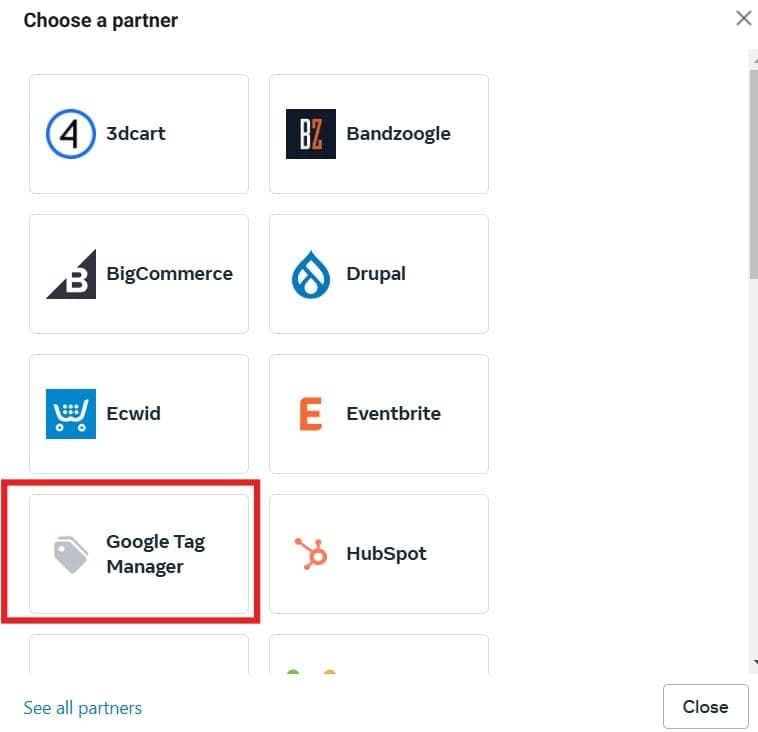
- Select "Google Tag Manager."
- Follow the steps by clicking "Next" after each prompt.
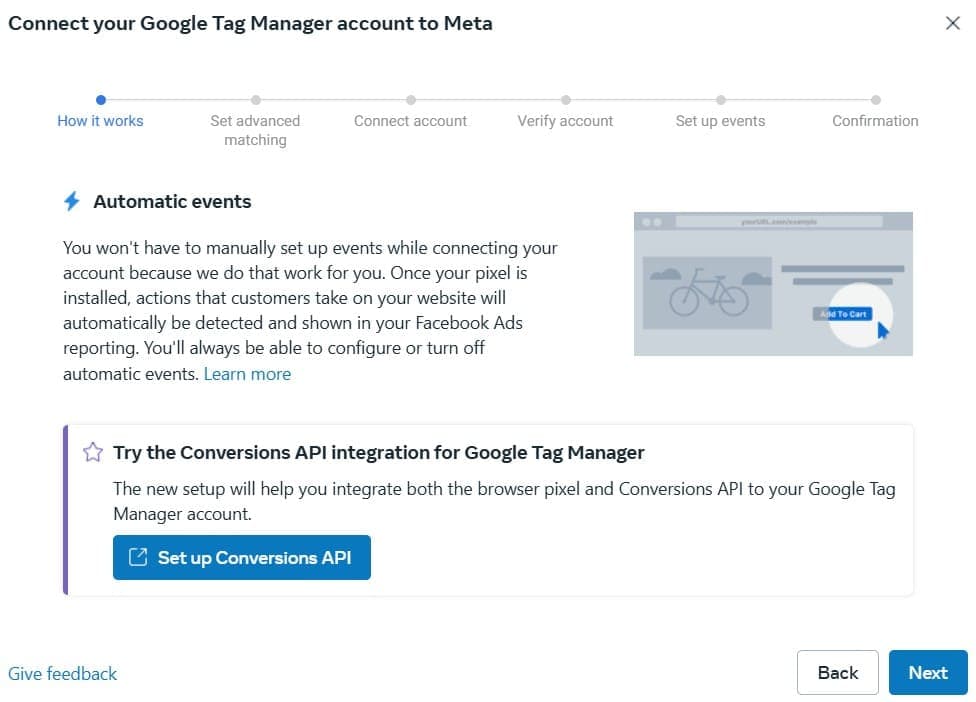
- When prompted to connect your Google Tag Manager account, sign in with your Google account where GTM is installed.
- Select the correct account and container name, then continue through the steps. You don’t need to modify anything in the following steps; just click "Next."
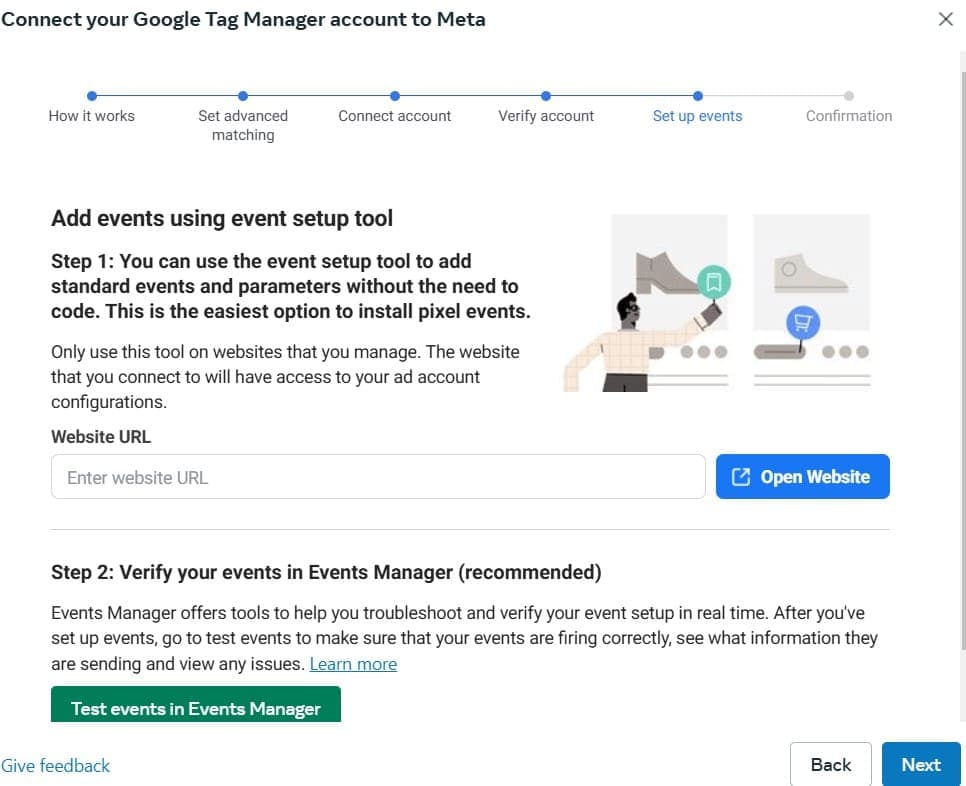
- Click "Finish."
- Now, go to your GTM dashboard and click on Tags. You should see a tag named "Meta Pixel ID *****" of Custom HTML type. If it's there, you've successfully set up your Meta Pixel.

- Second Method:
- Go to your GTM dashboard, click on Tags, then click New to create a new tag.
- Name the tag "Meta Pixel."
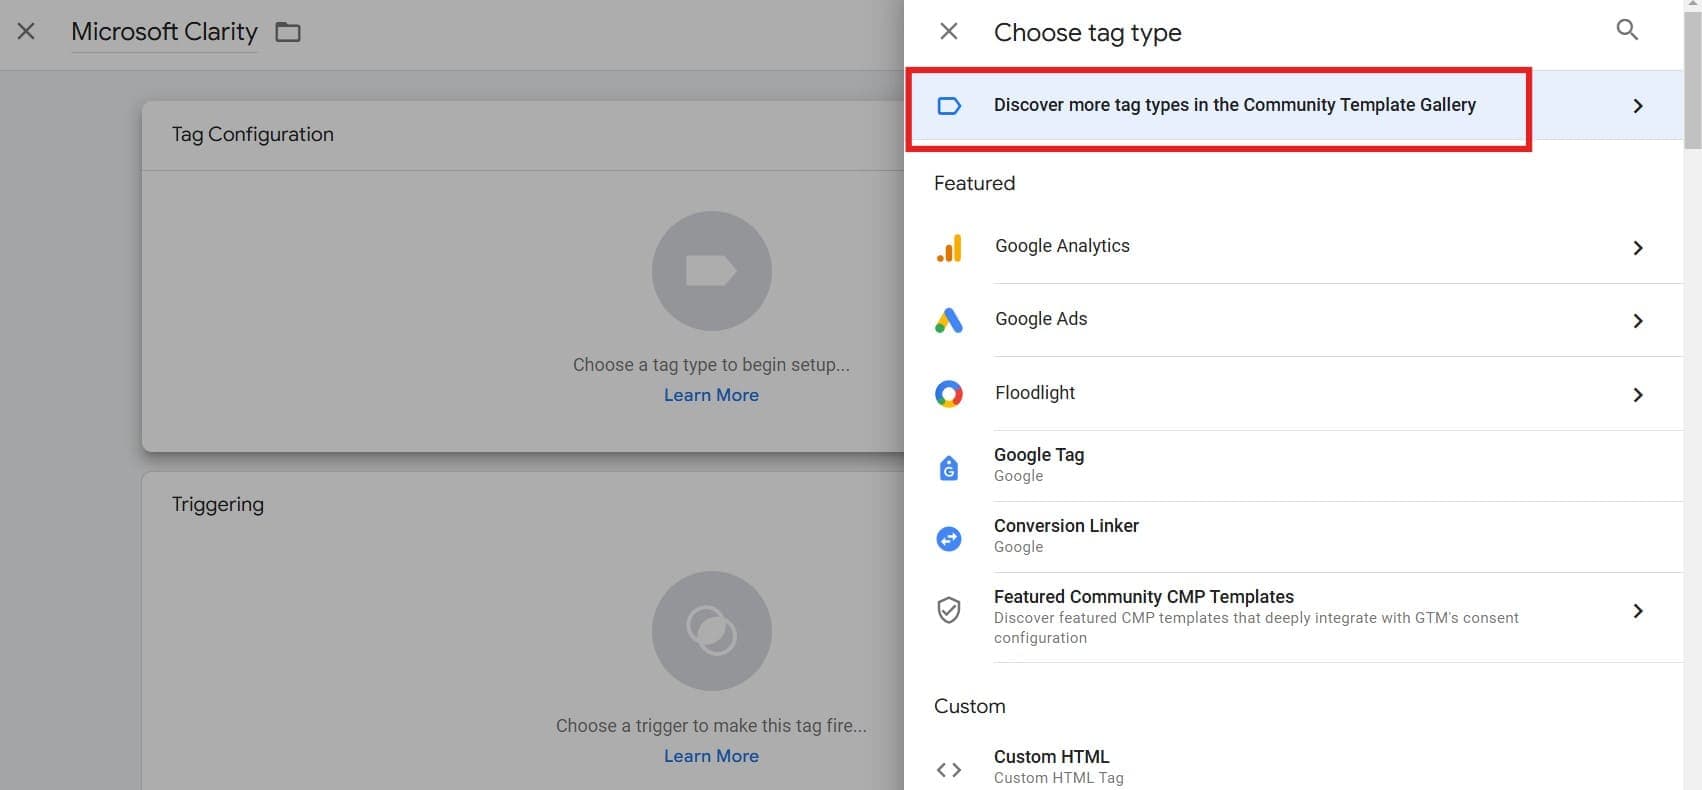
- Choose Tag Configuration and click on Community Template Gallery.
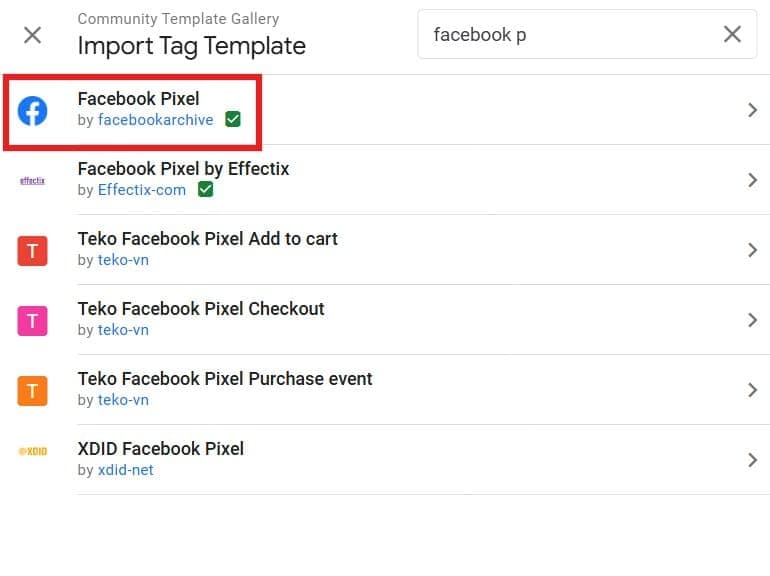
- Search for "Facebook Pixel" and click on it.
- Click on "Add to Workspace."
- Go back to Data Sources in Meta Events Manager within your Business Portfolio, then navigate to Settings to find the Pixel ID. Copy that ID.
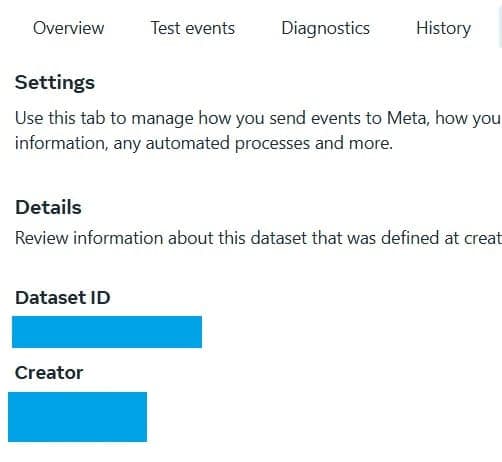
- Paste the "Dataset ID" into the "Facebook Pixel ID" field of your Meta Pixel GTM tag.
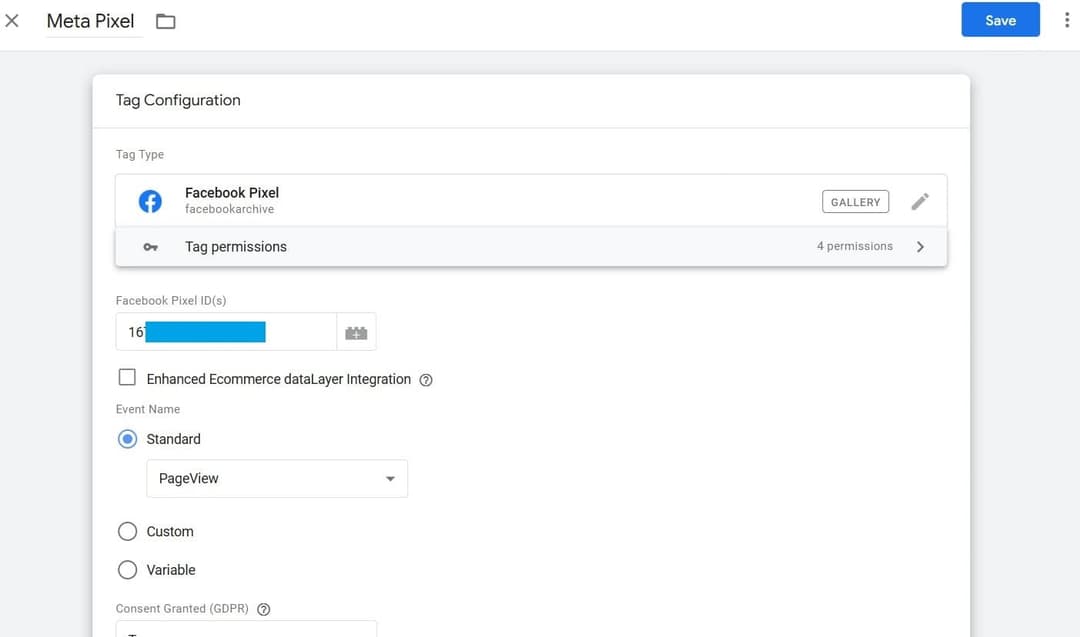
- Leave the other settings as they are and proceed to Triggering.
- Set the trigger to All Pages to fire this tag across all pages.
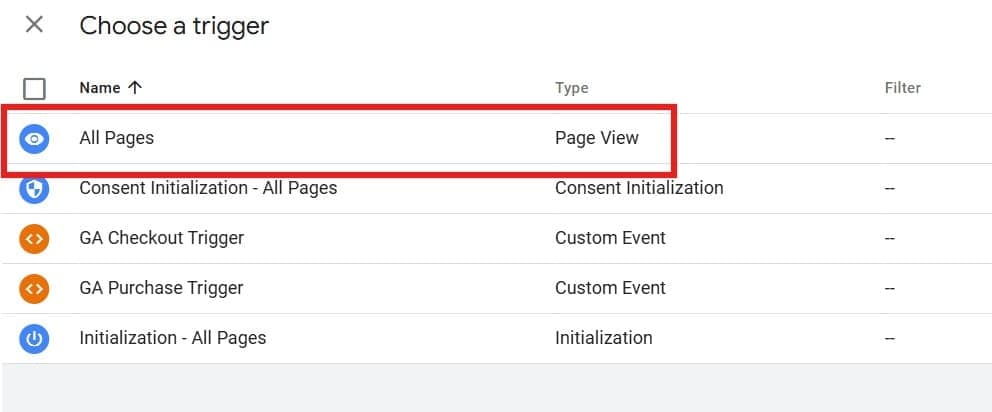
- Save the tag.
- Then you have to publish your changes. Click Submit in GTM, then click Publish to apply the changes to your website.
Note: You only need to complete one of these methods; dont do both!
-
-
Set Up Conversion API
-
Setting up the Conversion API is simple, as the code is already pre-written in StartupBolt!
-
The only things you need are the Meta Access Token and the Dataset ID.
- Step 1: Get the Dataset ID
- Go to Data Sources in Meta Events Manager within your Business Portfolio, then navigate to Settings to find the Pixel ID. Copy this ID.

- Open the
.env.localfile in the root of the StartupBolt project folder. Enter the Dataset ID as the value ofFB_PIXEL_ID.

- Step 2: Get the Meta Access Token
- You can find the Meta Access Token in several places in Meta Events Manager. One way is to go to Settings and scroll down to "Set up direct integration." Here, you will see the Meta Access Token.
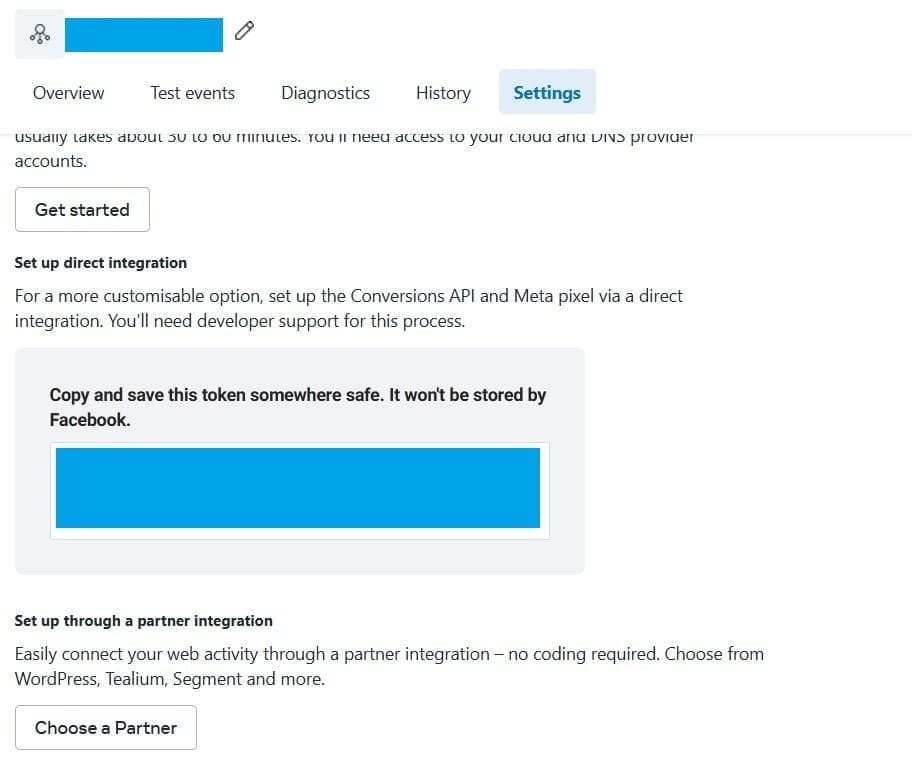
- Alternatively, go to Manage Integrations in the Overview section under Data Sources in Meta Events Manager within your Business Portfolio.
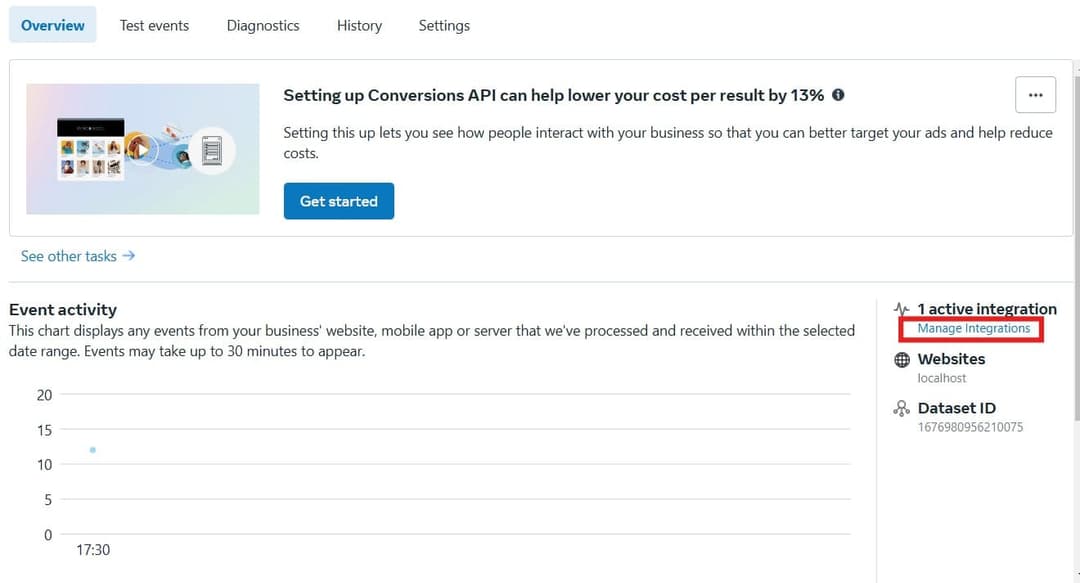
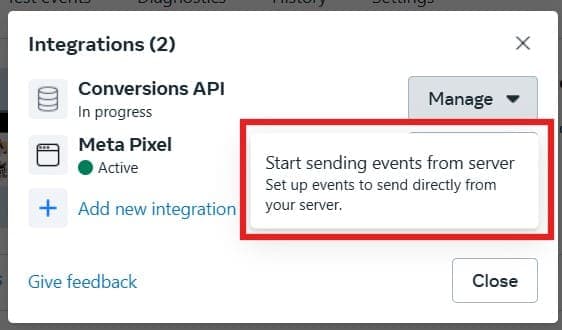
- Click on Manage next to "Conversions API" and click on "Start sending events from server."
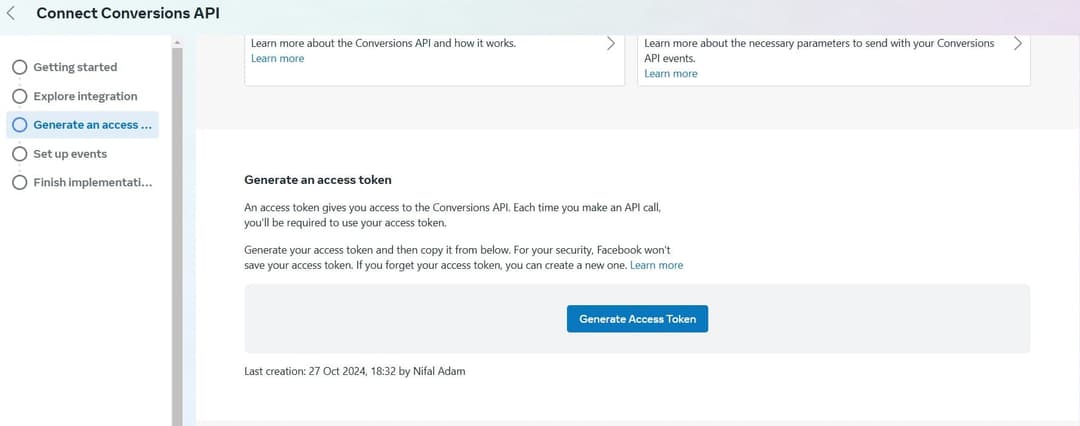
- Proceed a bit further, and you will be able to Generate Access Token.
- Open the
.env.localfile in the root of the StartupBolt project folder. Enter the Access Token as the value ofFB_ACCESS_TOKEN.

- Step 3: Enable Conversion API
- Open the
/settings.jsfile located in the root directory of your project. This is the central configuration file for your StartupBolt application, containing various settings that control different aspects of your web app. - Set
enableMetaConversionAPItotrue.

- Enable Meta Ads
- Open the
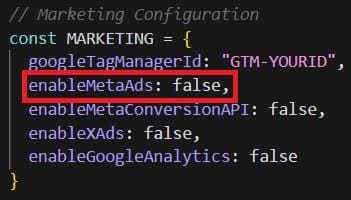
/settings.jsfile located in the root directory of your project. This is the central configuration file for your StartupBolt application, containing various settings that control different aspects of your web app. - Set the value of
enableMetaAdsunder theMARKETINGobject totrue. It is set tofalseby default.
-
That's it! The Conversion API is now set up. Meta data is tracked via both the pixel and Conversion API, with deduplication enabled. You can now start running ads on Meta!