Setting Up Supabase
Supabase is an open-source database provider and backend service that offers a full Postgres database, authentication, and many other features. Postgres is considered one of the world's most stable and advanced databases.
Our project's database will run on Supabase. It's cost-effective (you can start with a free account) and is production-grade. We will also manage authentication with Supabase.
Steps to Set Up Supabase
-
Create an account on Supabase (opens in a new tab).
-
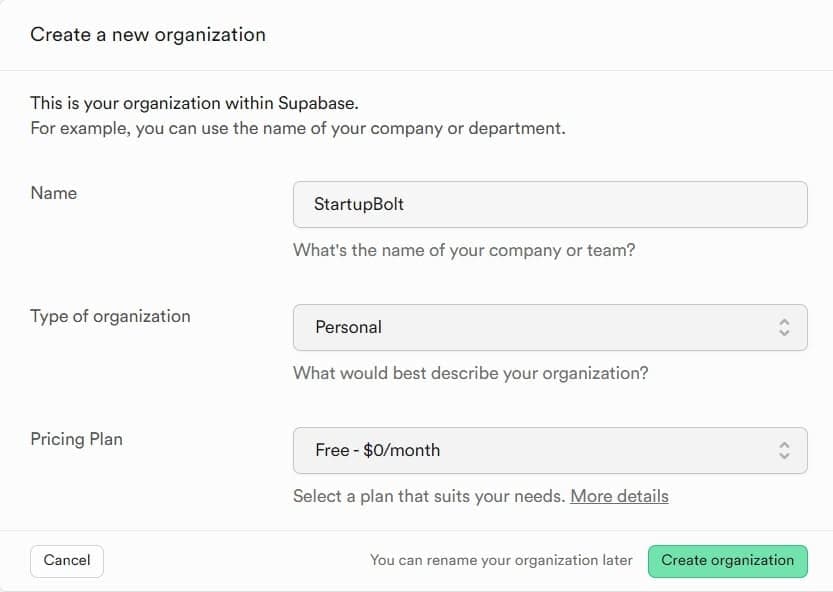
Create a new organization.

-
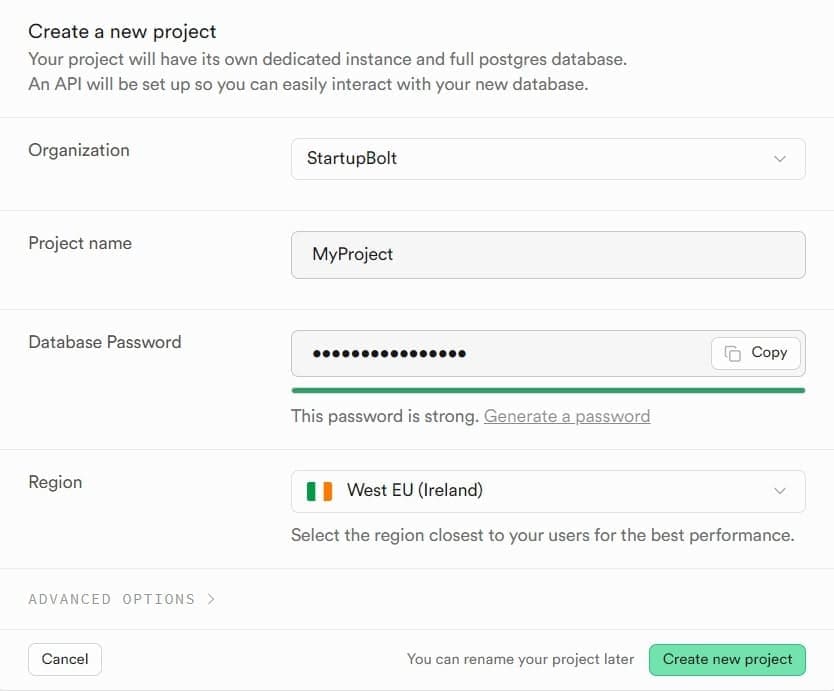
Create a new project:

- Give your project a name and enter a database password.
- Select a region that is closest to your target audience (e.g., Ireland is close to both America and Europe, which is ideal if most of your visitors come from these regions).
- Keep other settings as default.
- Create the project.
-
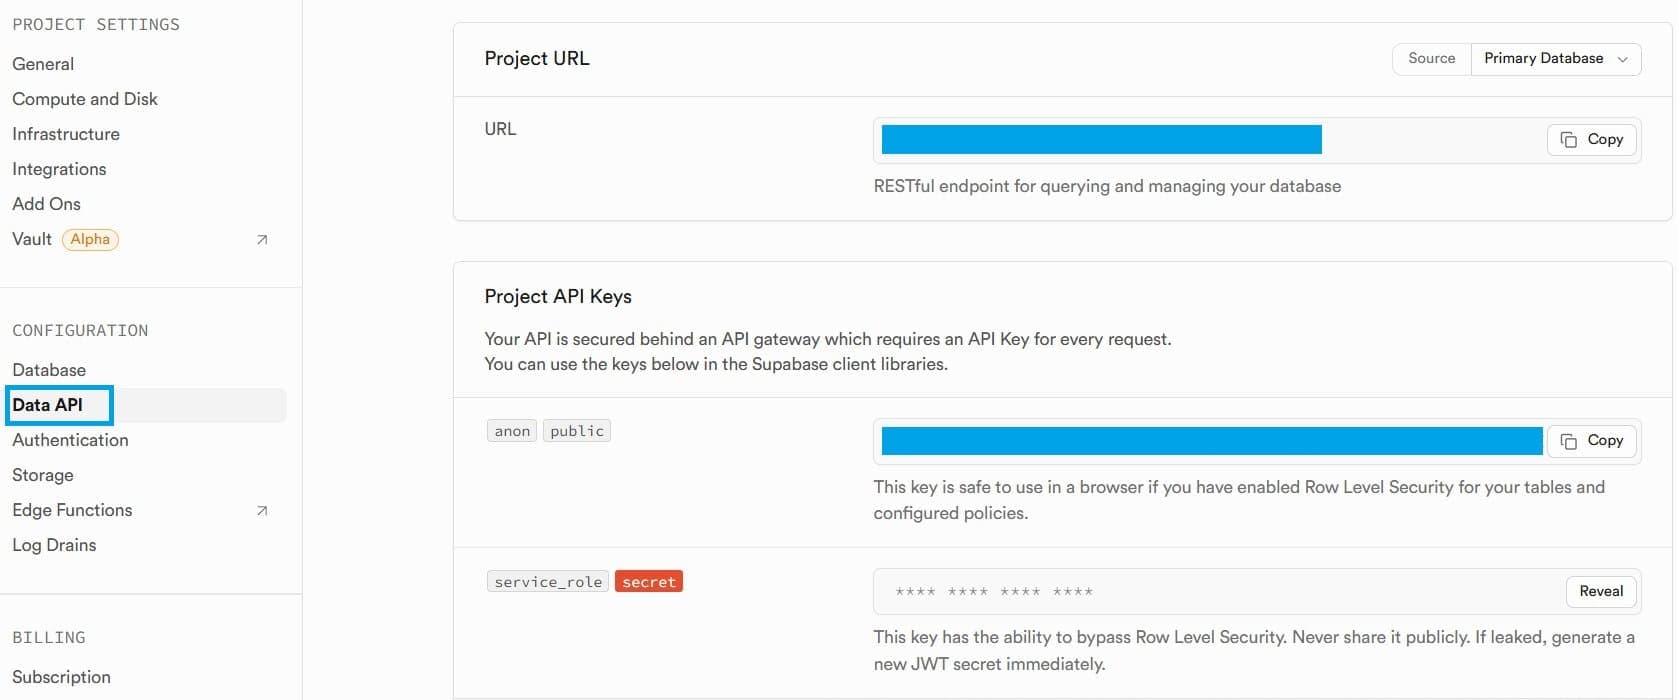
Retrieve your project API keys:

- Once the project is created, you will be presented with the project API keys.
- If not, navigate to Project Settings > Configuration > Data API.
- You will get access to the Project URL, anon public API key, and service role secret API key. These will be used in the next step.
-
Set up your Supabase environment variables:

- Go to
.env.localin the root directory of your Next.js project folder (if it doesn’t exist, rename.env.examplein the same root folder to.env.local). - Copy the Project URL and paste it inside
.env.local:NEXT_PUBLIC_SUPABASE_URL=your-project-url - Copy the anon public API key and paste it inside
.env.local:NEXT_PUBLIC_SUPABASE_ANON_KEY=your-anon-public-api-key - Copy the service role secret API key and paste it inside
.env.local:SUPABASE_SERVICE_ROLE_KEY=your-service-role-secret-api-key - If you're working in a live server, you might configure these keys differently, such as within the server's environment variable settings.
- Go to
Note: Ensure the
.env.localfile is included in your.gitignoreto keep it from being pushed to GitHub. Keep all these keys safe by storing them inside the environment file only and never sharing them with anyone.
That's it! Your Supabase setup is complete! 😄
Next Steps
- Setup Supabase Roles: Follow the Supabase Roles guide to create roles and manage user access.