Microsoft Clarity
Microsoft Clarity provides recordings of user interactions and heatmaps, giving you insights into how users engage with your site. This information helps you optimize your landing pages effectively. We'll use GTM to set up Microsoft Clarity in your StartupBolt project.
Note: If you prefer using other analytics tools, learning the setup for Microsoft Clarity, GA, and GTM will give you a solid foundation. If you need further assistance, feel free to email me at startupbolt@gmail.com or reach out on Twitter at https://x.com/nifal_adam (opens in a new tab). I’ll be happy to help or provide additional instructions.
Steps to Set Up Microsoft Clarity
-
Create a Microsoft Clarity Account
- Go to Microsoft Clarity (opens in a new tab), sign up if you haven't already, and click on "New Project."
- Enter the Name, Website URL, and Industry for your new project, then click on "Add New Project."
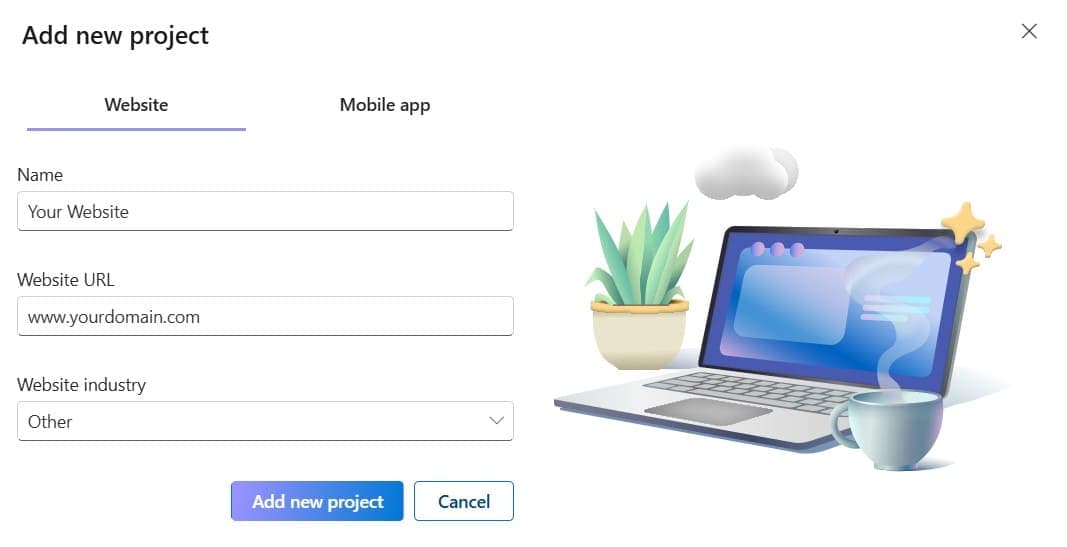
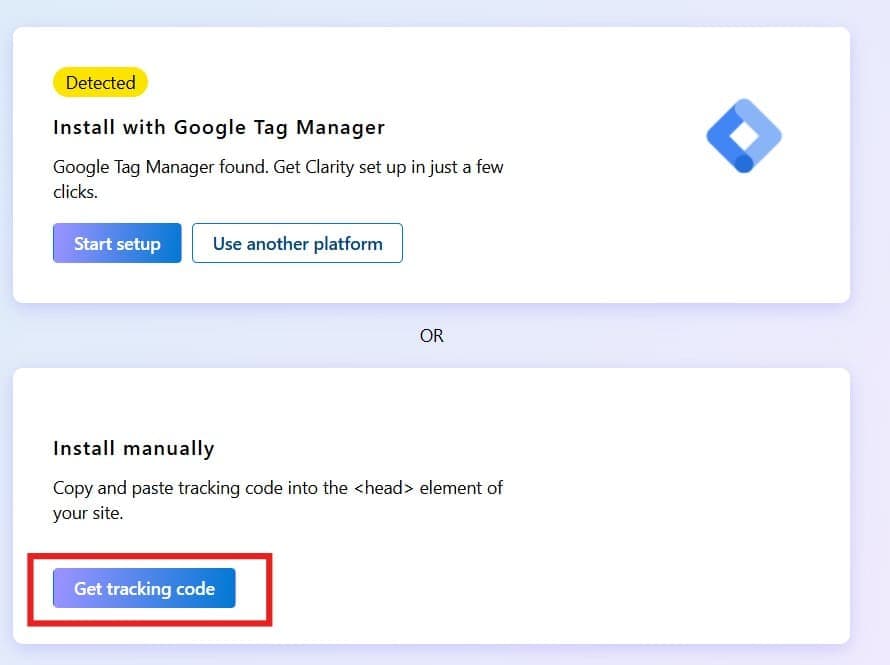
- Once the project is created, you’ll have the option to install with Google Tag Manager or manually. Click on "Get Tracking Code" under the manual installation option.
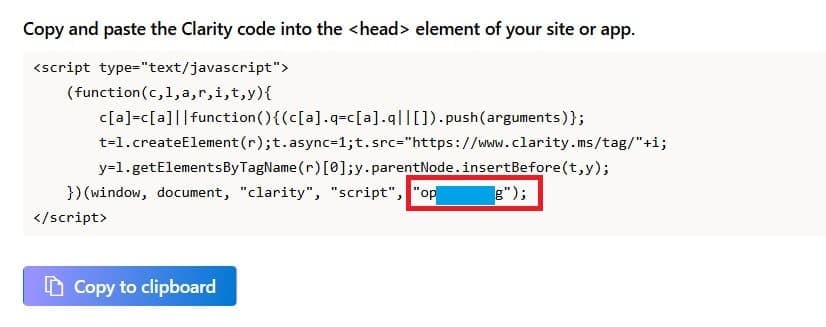
- Copy the "Clarity Project ID" displayed. You will need this for the next step.
-
Create the Microsoft Clarity Tag
- Go to your GTM dashboard, click on Tags, then click New to create a new tag.
- Name the tag "Microsoft Clarity".
- Choose Tag Configuration and click on Community Template Gallery.
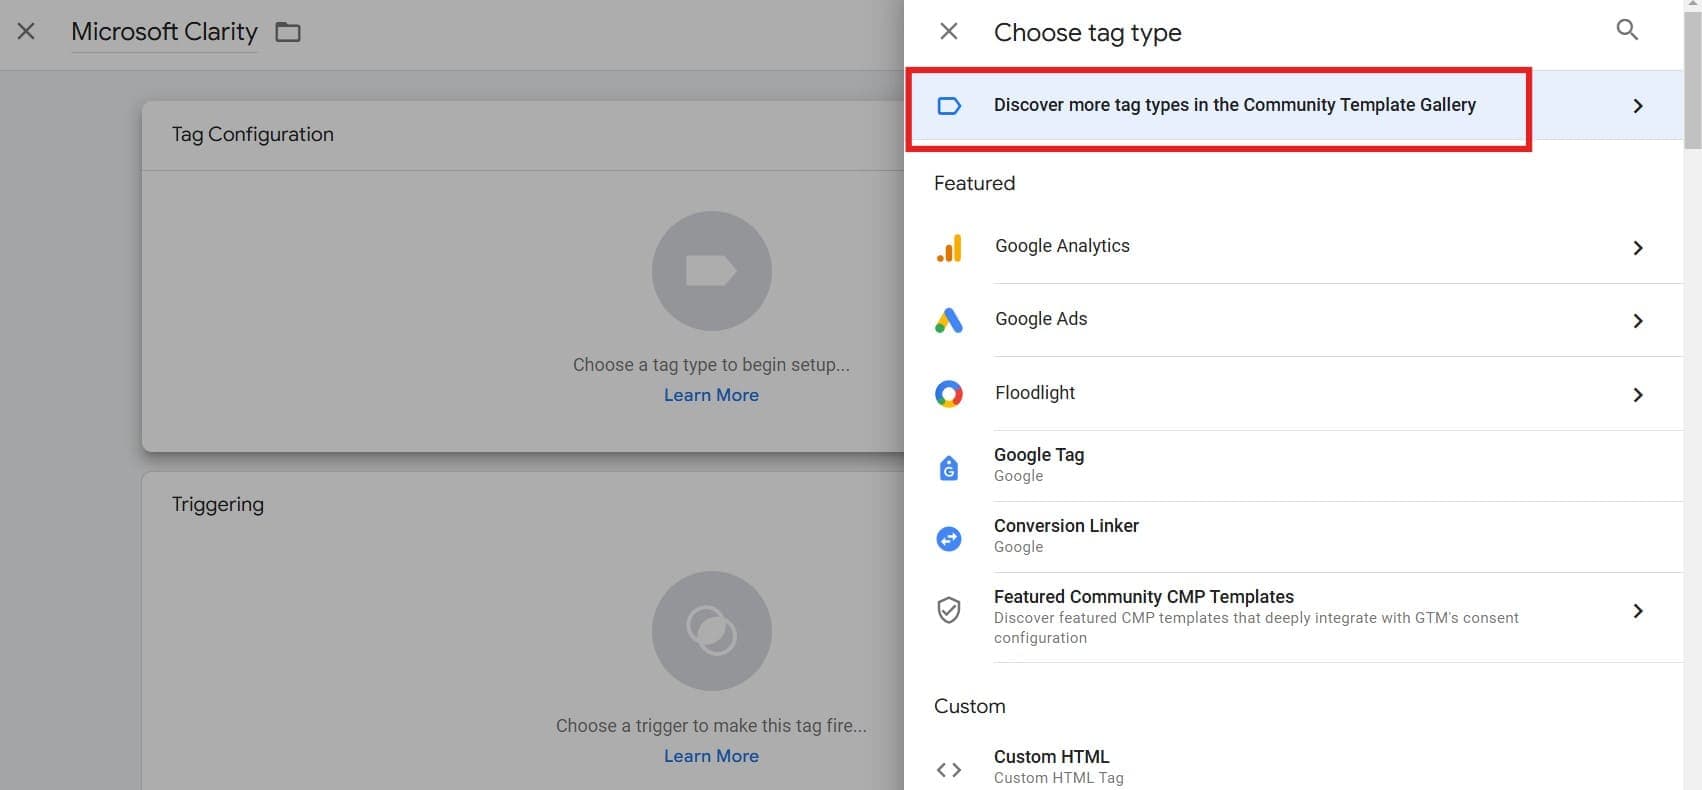
- Search for "Microsoft Clarity - Official" and click on it.
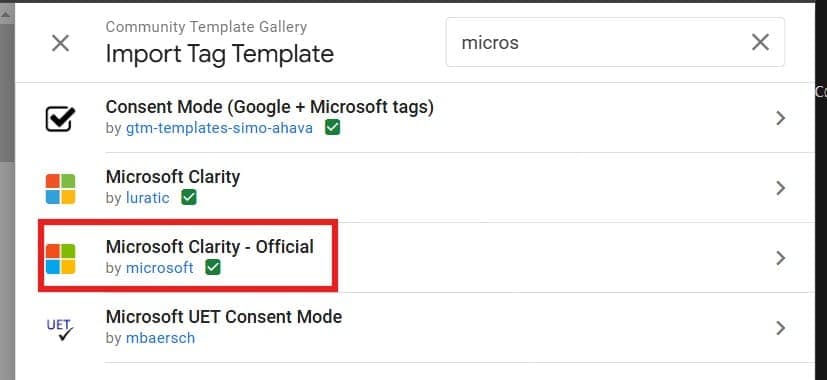
- Click on "Add to Workspace."
- Paste the "Clarity Project ID" you copied earlier into the "Clarity Project ID" field.
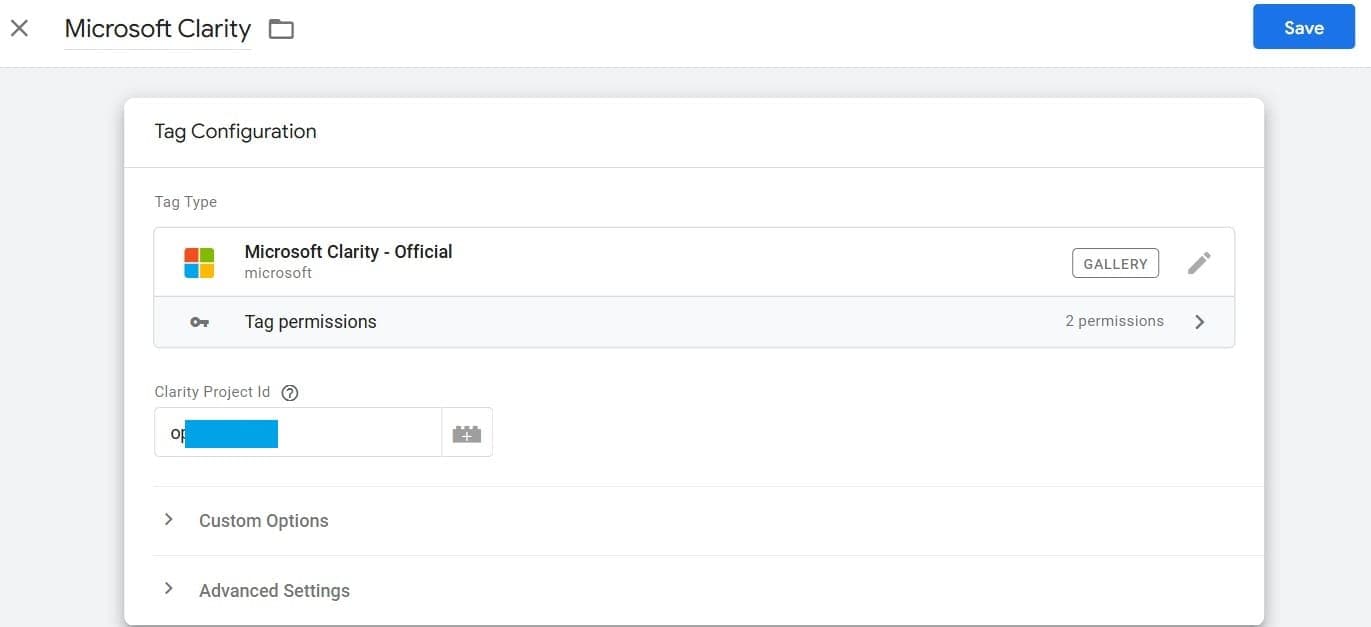
- Go to Triggering and set the trigger to All Pages to fire this tag across all pages.
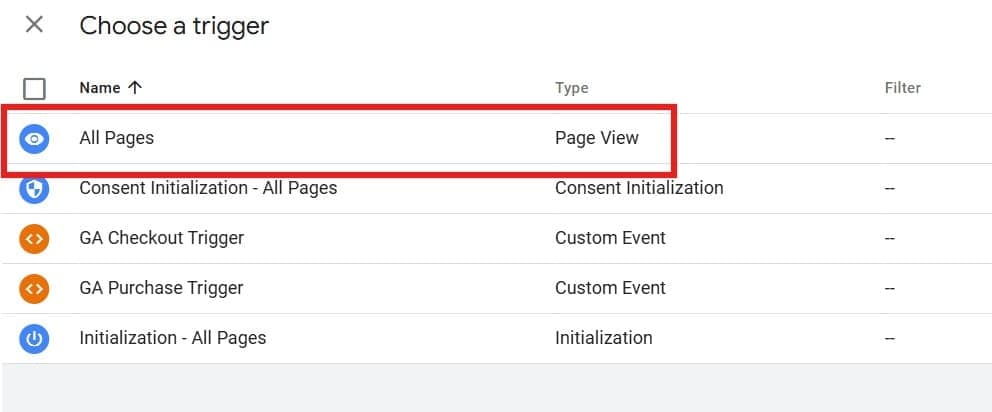
- Save the tag.
-
Publish Your Changes
- Click Submit in GTM, then click Publish to apply the changes to your website.
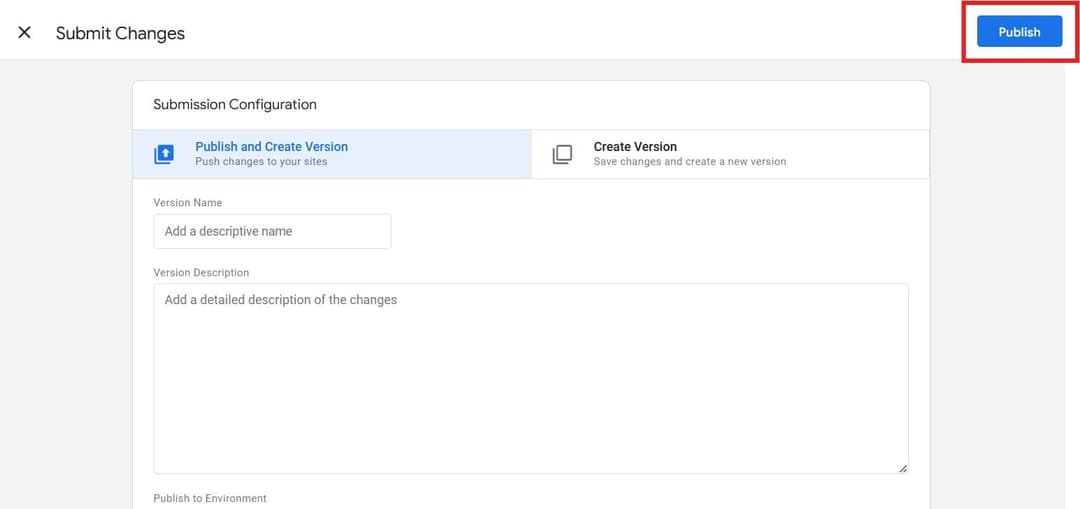
-
Preview the Microsoft Clarity Setup in GTM
- Ensure your website is running locally by typing
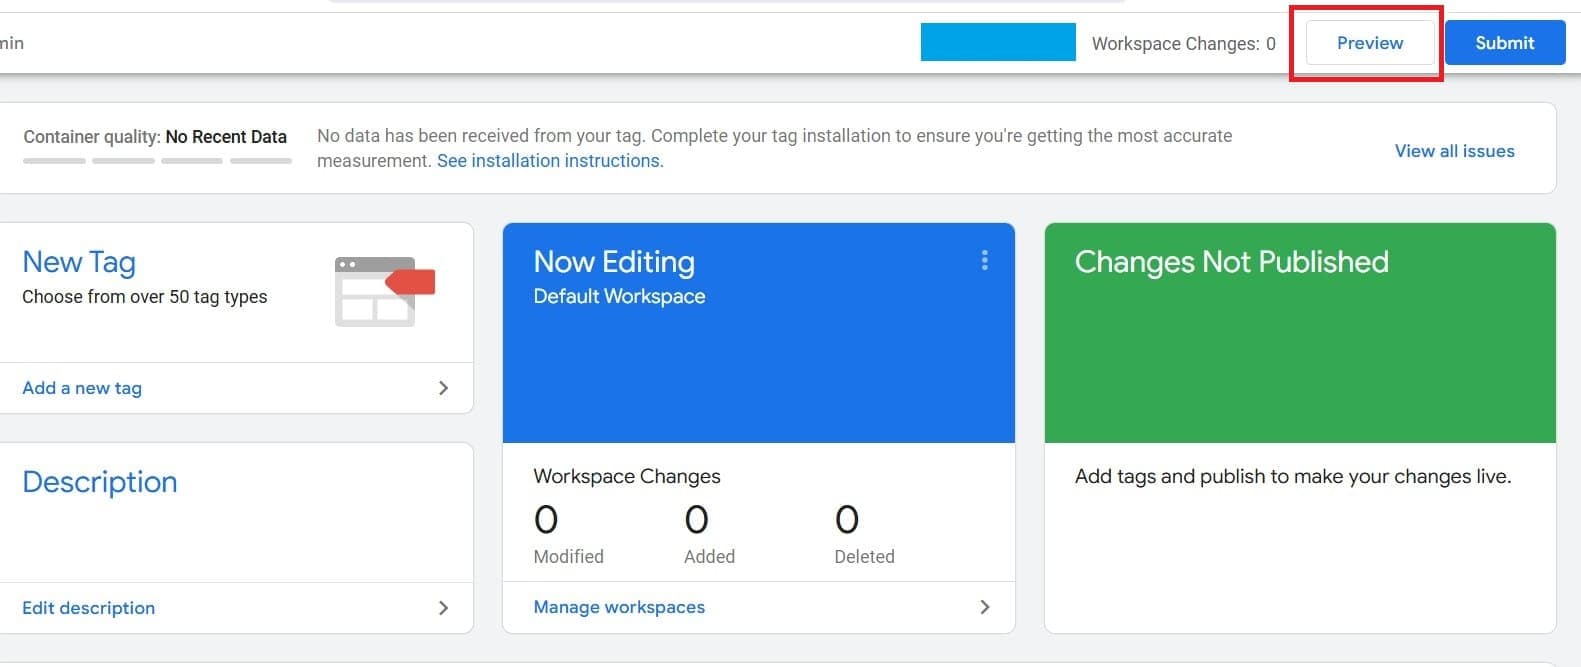
npm run devin your terminal. The site should be accessible athttp://localhost:3000. If port 3000 is unavailable, it might use another port like 3001, 3002, etc. - Next, go to the GTM dashboard and click on the "Preview" button.
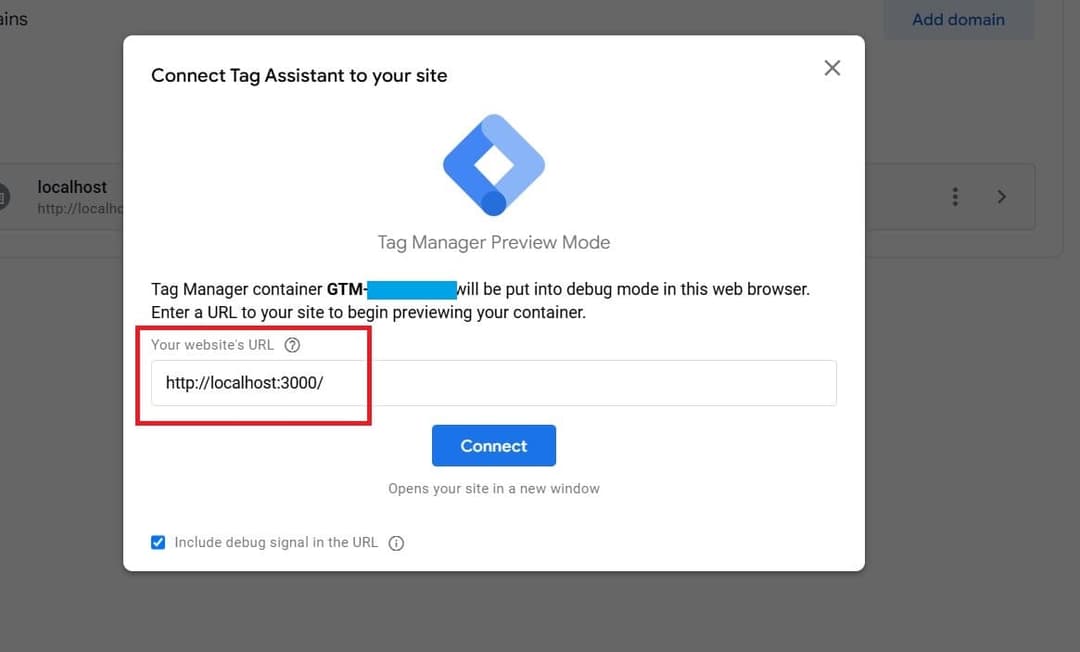
- Enter your local website URL (e.g.,
http://localhost:3000) and click "Connect."
- If everything is set up correctly, you will see that the "Microsoft Clarity - Official" tag is fired.
- You can also verify if the tag is firing by visiting your deployed website (e.g.,
www.yourdomain.com). Ensure your website is deployed; visit the Deployment section if you haven’t done so yet.
- Ensure your website is running locally by typing
Microsoft Clarity is now set up! The main features to explore are Recordings and Heatmaps, which provide powerful insights into user behavior. It might take a little time for data to start showing up, but once it does, you'll see just how valuable and amazing this tool is!