Using Fonts in StartupBolt
StartupBolt's font system provides a seamless way to integrate Google Fonts into your project. This guide will walk you through the process of setting up and using Google fonts.
Key Features
- Seamless Google Fonts Integration: Easy access to the entire Google Fonts library.
- Performance Optimization: Font files are downloaded at build time, reducing runtime requests.
- Default Font: Inter is set as the default font for consistency.
Steps to Implement Google Fonts
1. Selecting Your Font
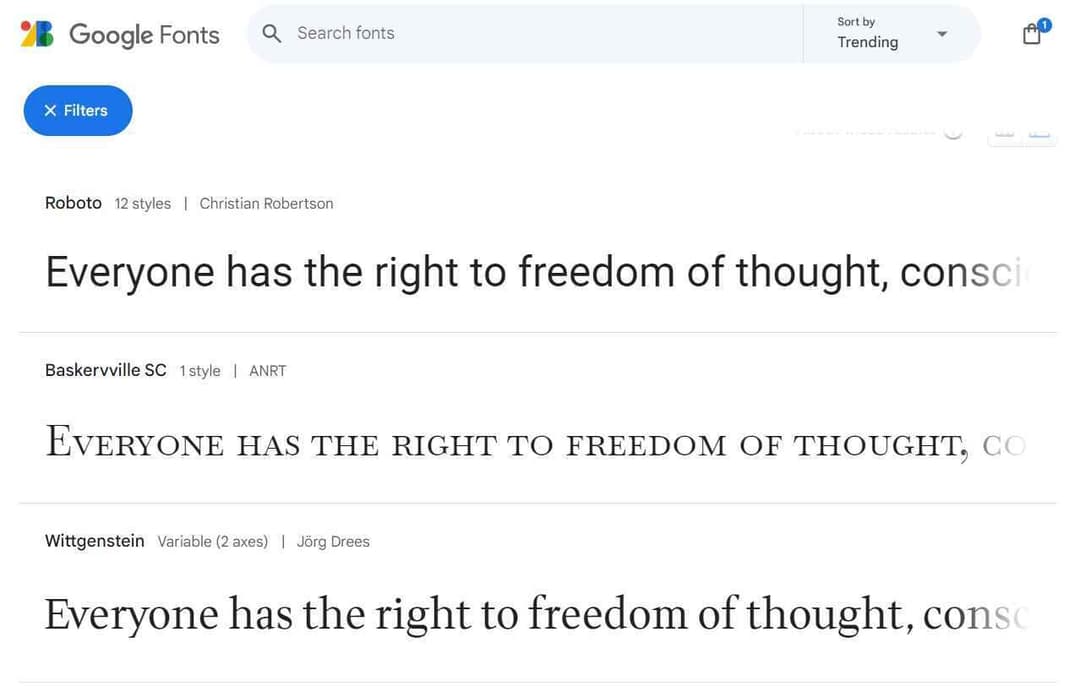
- Browse fonts at Google Fonts (opens in a new tab)
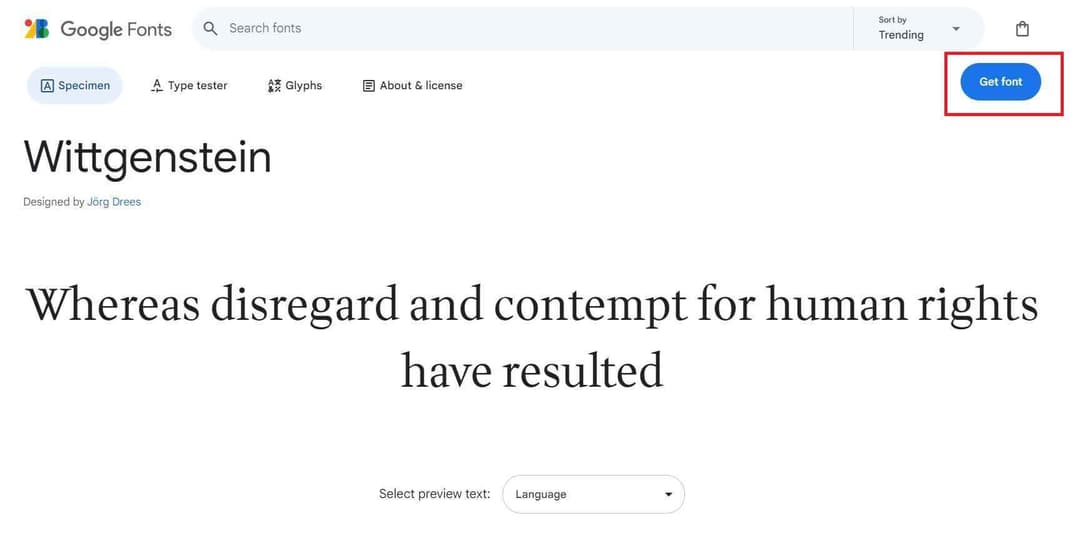
- Click "Get Font" for your chosen font
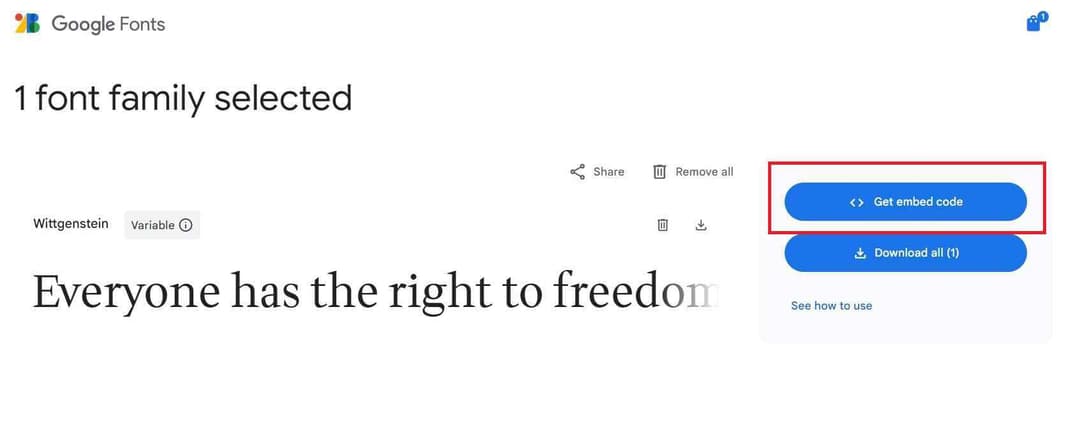
- Select "Get Embed Code"
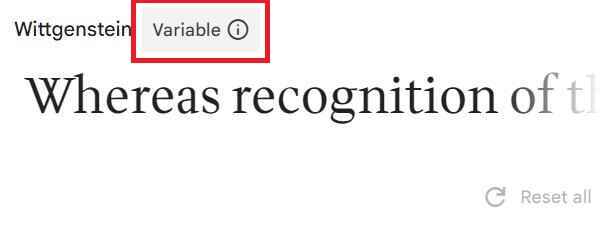
- Determine if it's a variable font (no weight specification needed if so)
- Note the font name, available weights (if not a variable font) and font-style for future reference
2. Configuring the Font
Open the font constants file located at /constants/fonts.js and import the font as a function from 'next/font/google'. Then, load and export the font using the appropriate configuration:
- For variable fonts:
import { Wittgenstein } from 'next/font/google';

export const wittgenstein = Wittgenstein({
    subsets: ['latin'],
    display: 'swap',
});- For non-variable fonts, you have to include the weights:
import { Roboto } from 'next/font/google';

export const roboto = Roboto({
    subsets: ['latin'],
    weight: ['400', '700'],
    display: 'swap',
});- You can also include different styles. By default, only the default style is loaded. You can also include other styles like 'italic' if you want to:
import { Wittgenstein } from 'next/font/google';

export const wittgenstein = Wittgenstein({
    subsets: ['latin'],
    style: ['normal', 'italic'],
    display: 'swap',
});- Use an underscore (_) for font names with multiple words. E.g., Roboto Mono should be imported as Roboto_Mono. Example:
import { Alegreya_Sans_SC } from 'next/font/google';

export const alegreya_sans_sc = Alegreya_Sans_SC({
    subsets: ["latin"],
    weight: ["400", "700"],
    style: "normal",
    display: "swap",
});
3. Implementing the Font in Your Components
Import the font from the font constants file and apply the font class to your JSX or HTML elements:
import { roboto } from '@/constants/fonts'
<h1 className={roboto.className}>My page</h1>
Also note that if you apply a font class to a parent div, it will be applied to all child divs, unless we use a different font class explicitly for a child element. Check the following example to understand.
import { roboto, alegreya_sans_sc } from '@/constants/fonts'

<div className={roboto.className}>
    <h1>This will be in Roboto</h1>
    <p>This paragraph will also be in Roboto</p>
    <div>
      <span>This nested text will still be in Roboto</span>
      <span className={alegreya_sans_sc.className}>This nested text will be in Alegreya Sans SC</span>
    </div>
</div>
4. Using Fonts with Tailwind CSS
You can also use the fonts with Tailwind CSS. Here's how to combine font classes with Tailwind utility classes:
<h1 className={`text-sm bg-red-300 ${roboto.className}`}>My page</h1>This approach allows you to leverage both the power of Google fonts and the flexibility of Tailwind's utility classes in your designs.
Detailed Instructions
For more detailed instructions, refer to the comments inside the font constants file located at /constants/fonts.js.
Best Practices and Optimization Tips
- Font Subsetting: Use
subsets: ['latin']to reduce file size for Latin scripts. For languages with non-Latin scripts, you can search Google Fonts (opens in a new tab) to find the right subset. - Loading Behavior:
display: 'swap'enhances text visibility during font loading. This will be included in all font exports. - Resource Management: Use multiple fonts conservatively to minimize client-side resource load.
- Centralized Font Definition: Always define fonts in '/constants/fonts.js' to prevent inefficient multiple instances across files.
By following these guidelines, you can effectively implement Google fonts in your StartupBolt project.