Blog Dashboard & Management Guide
If you have followed the steps in the Blog Setup section, your tables, policies, and triggers should already be set up. This guide will walk you through managing different aspects of your blog, including authors, categories, articles, and the media library.
Overview
Within the Blog section of the sidebar menu, you will find the following options:
- Articles
- Add New Article
- Categories
- Authors
- Media Library
We will go through each of these sections in detail. Additionally, there are four user roles: Admin, Editor, Author, and Contributor. We will outline the permissions for each role within these sections.
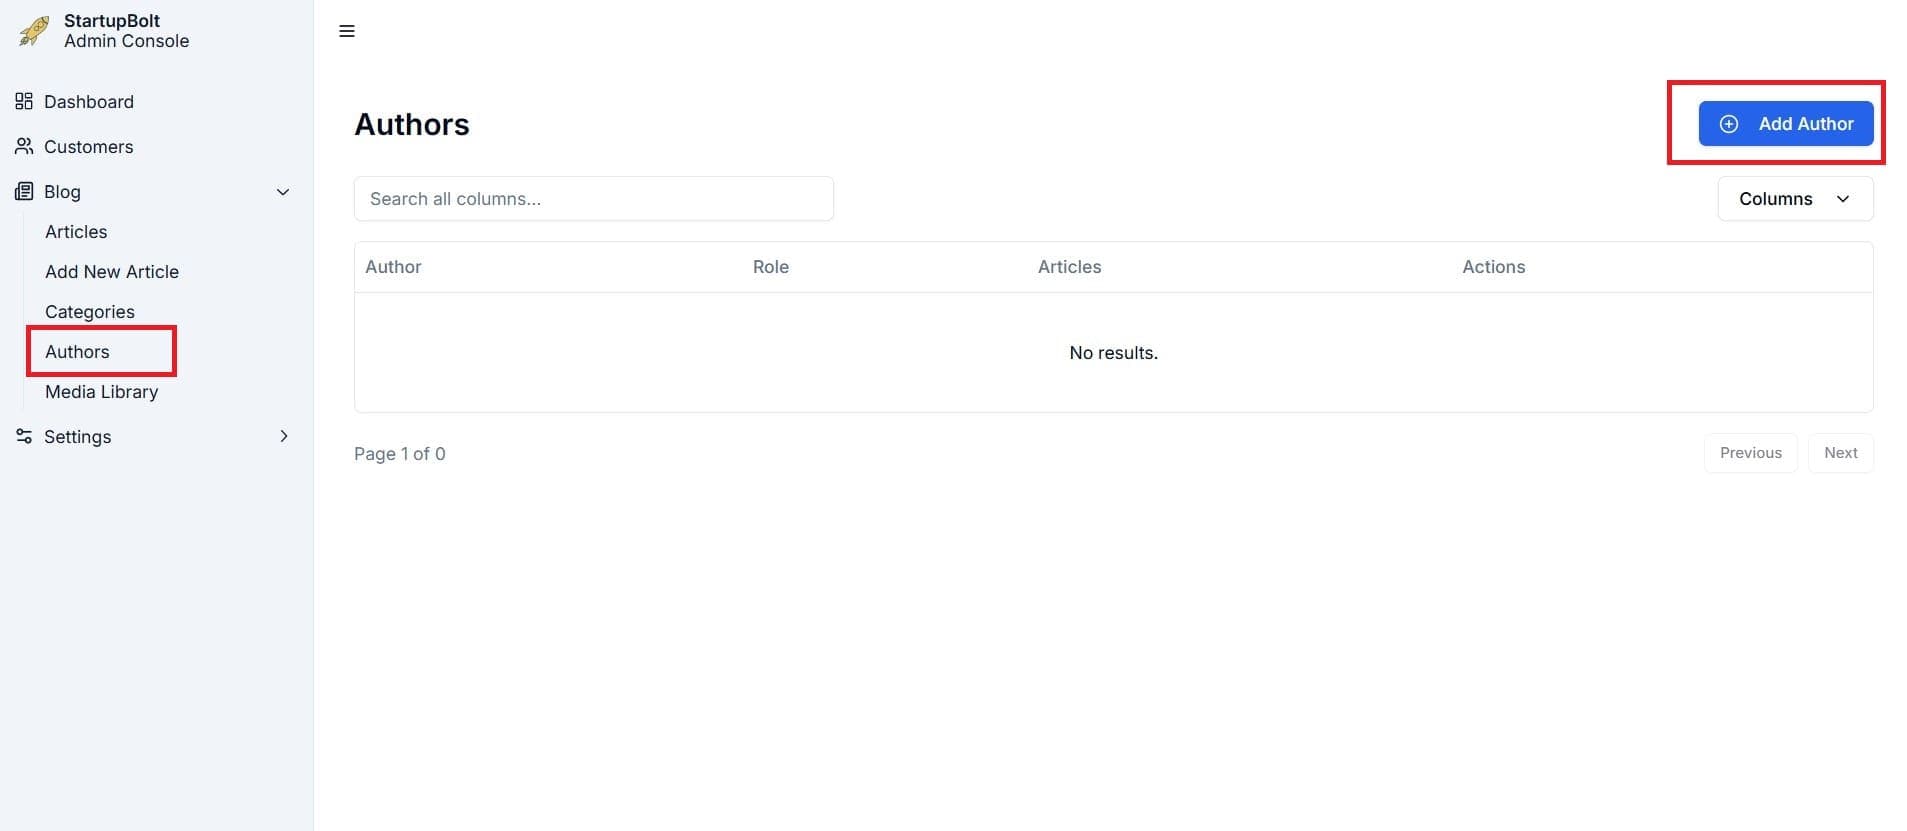
Authors
To create an author profile:
- Navigate to Blog > Authors in the sidebar.
- Click on the "Add Author" button.
- Select a user from the dropdown list.
- Fill in the author's details.
- Click "Add Author" to save the profile.
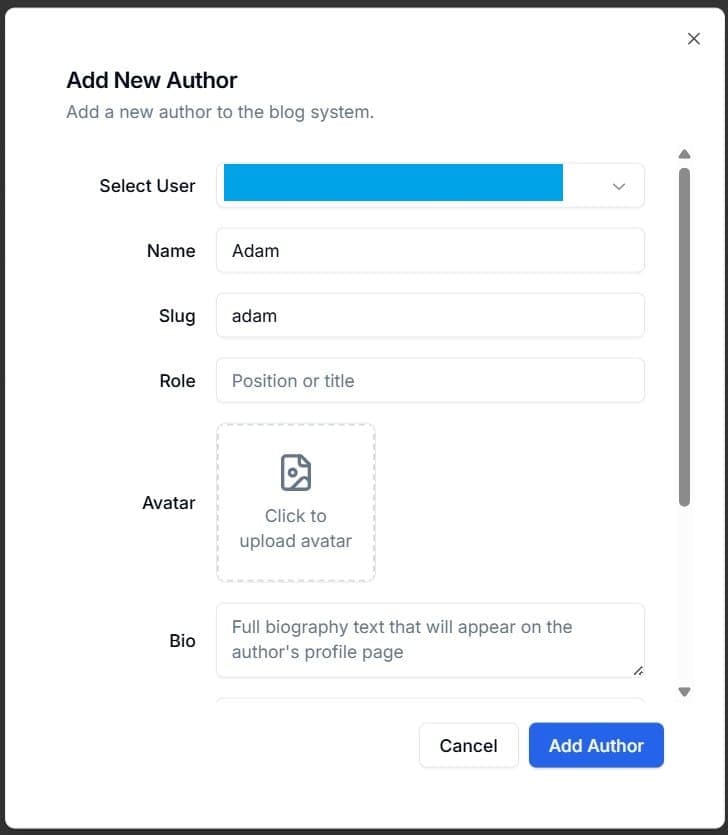
Author Profile Fields
- Select User: Mandatory field to assign a user.
- Name: Author's name.
- Slug: URL-friendly identifier (Recommended to avoid changing after creation for SEO purposes).
- Role: Job title such as "Founder," "Developer," "Designer," etc. (Not related to Supabase roles).
- Avatar: Author's profile picture.
- Bio: Author’s short biography.
- Meta Bio: Short description for SEO (appears in search results).
- X/Twitter Handle, LinkedIn Handle, GitHub Handle: Social media links.
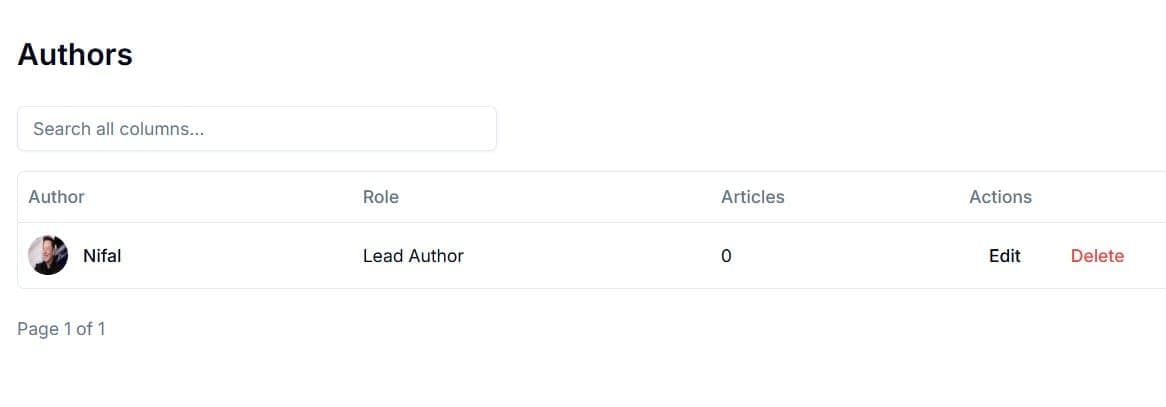
Once created, authors can be edited or deleted as needed.
Permissions for Authors
- Admins & Editors: View, create, edit, and delete all authors.
- Authenticated Users: Can view, create, edit and delete their own author profile.
- Unauthenticated Users: Can only view authors.
Categories
To create a category:
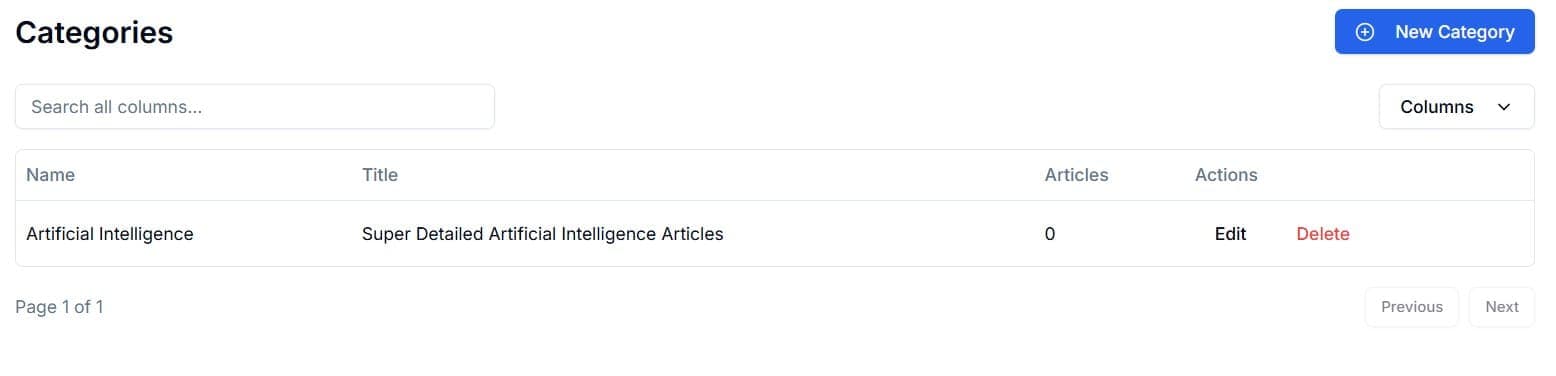
- Navigate to Blog > Categories in the sidebar.
- Click on "New Category".
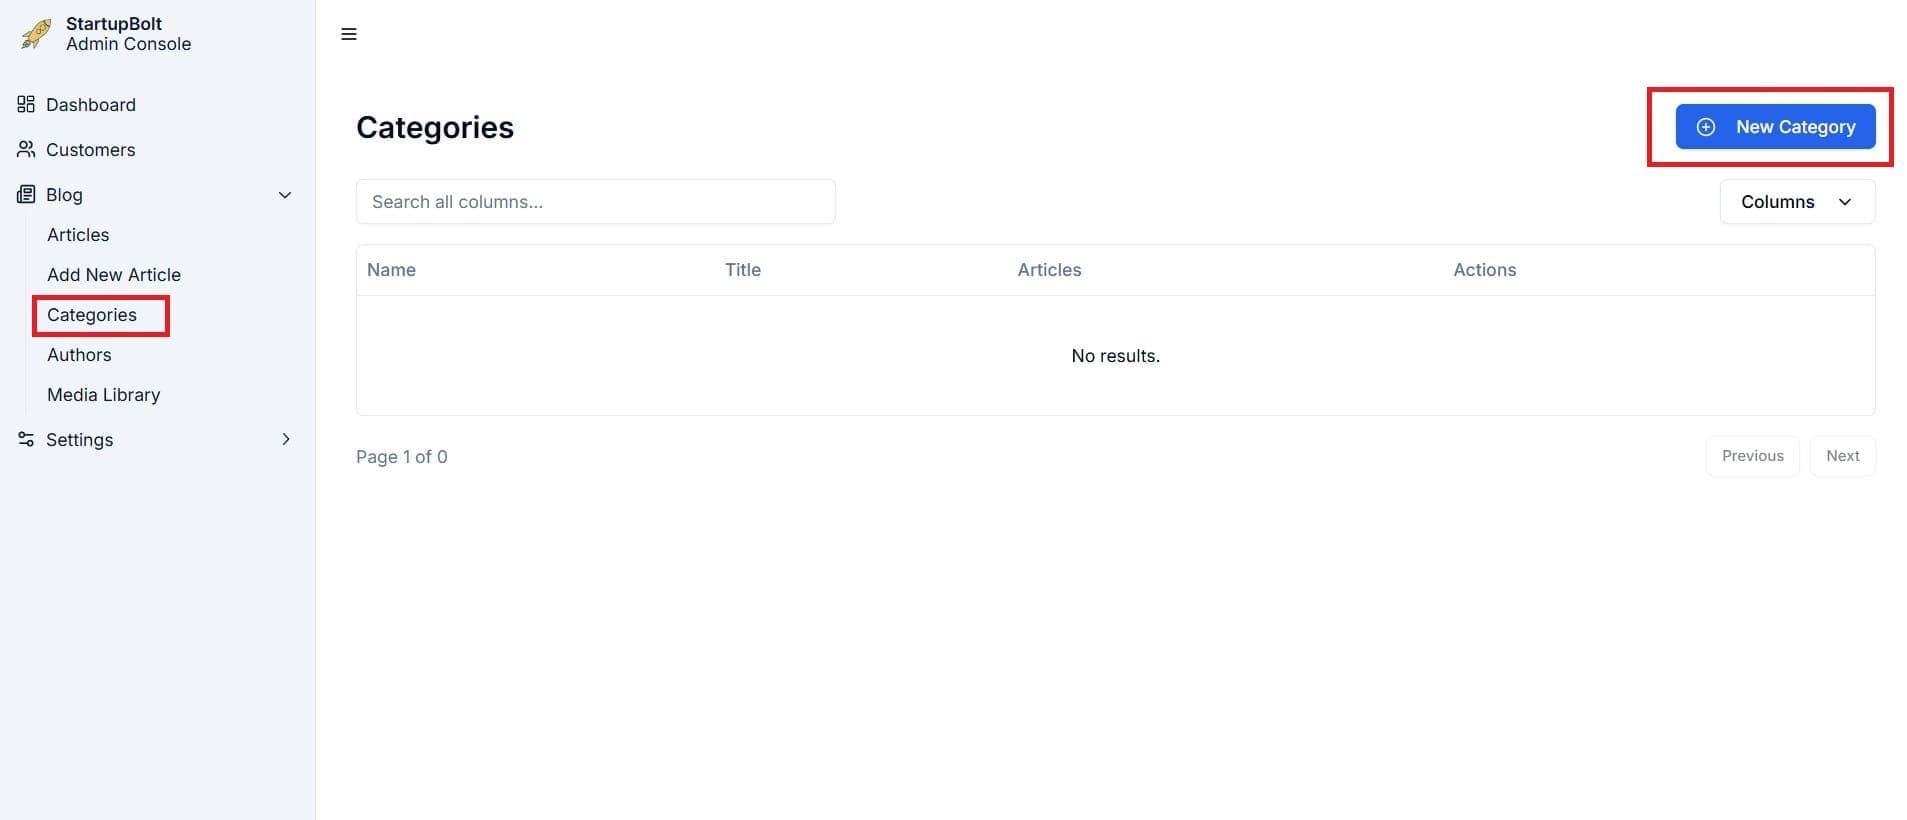
- Fill in the category details and click "Add Category".
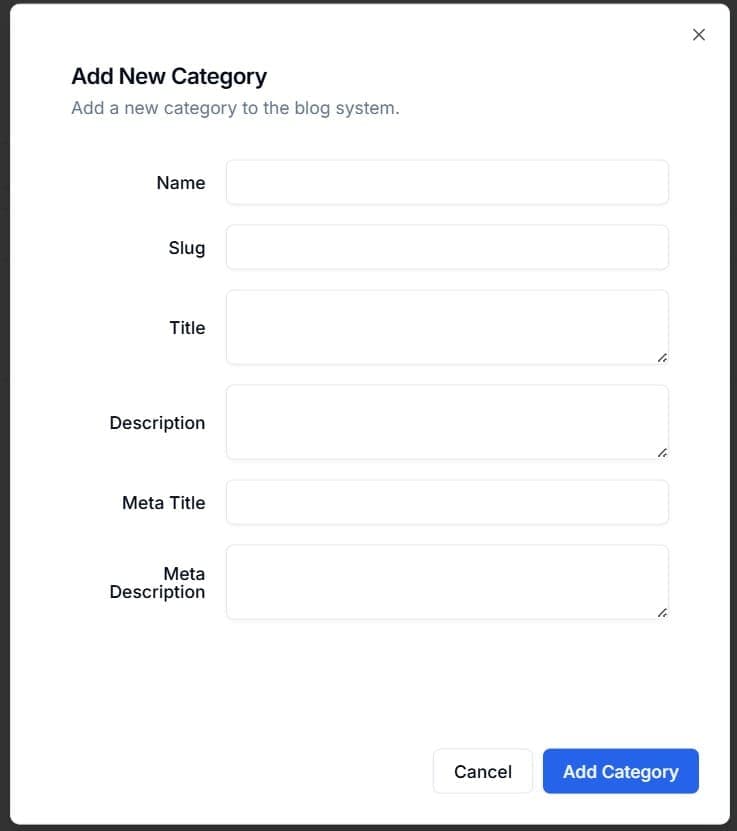
Category Fields
- Name: Category name.
- Slug: URL-friendly identifier (Recommended to avoid changing after creation for SEO purposes).
- Title: Category title.
- Description: Category description.
- Meta Title & Meta Description: SEO fields that appear in search results.
Once created, categories can be edited or deleted.
Permissions for Categories
- Admins & Editors: Can view, create, edit and delete all categories.
- All Other Authenticated Users: Can only view categories.
Adding a New Article
To create an article:
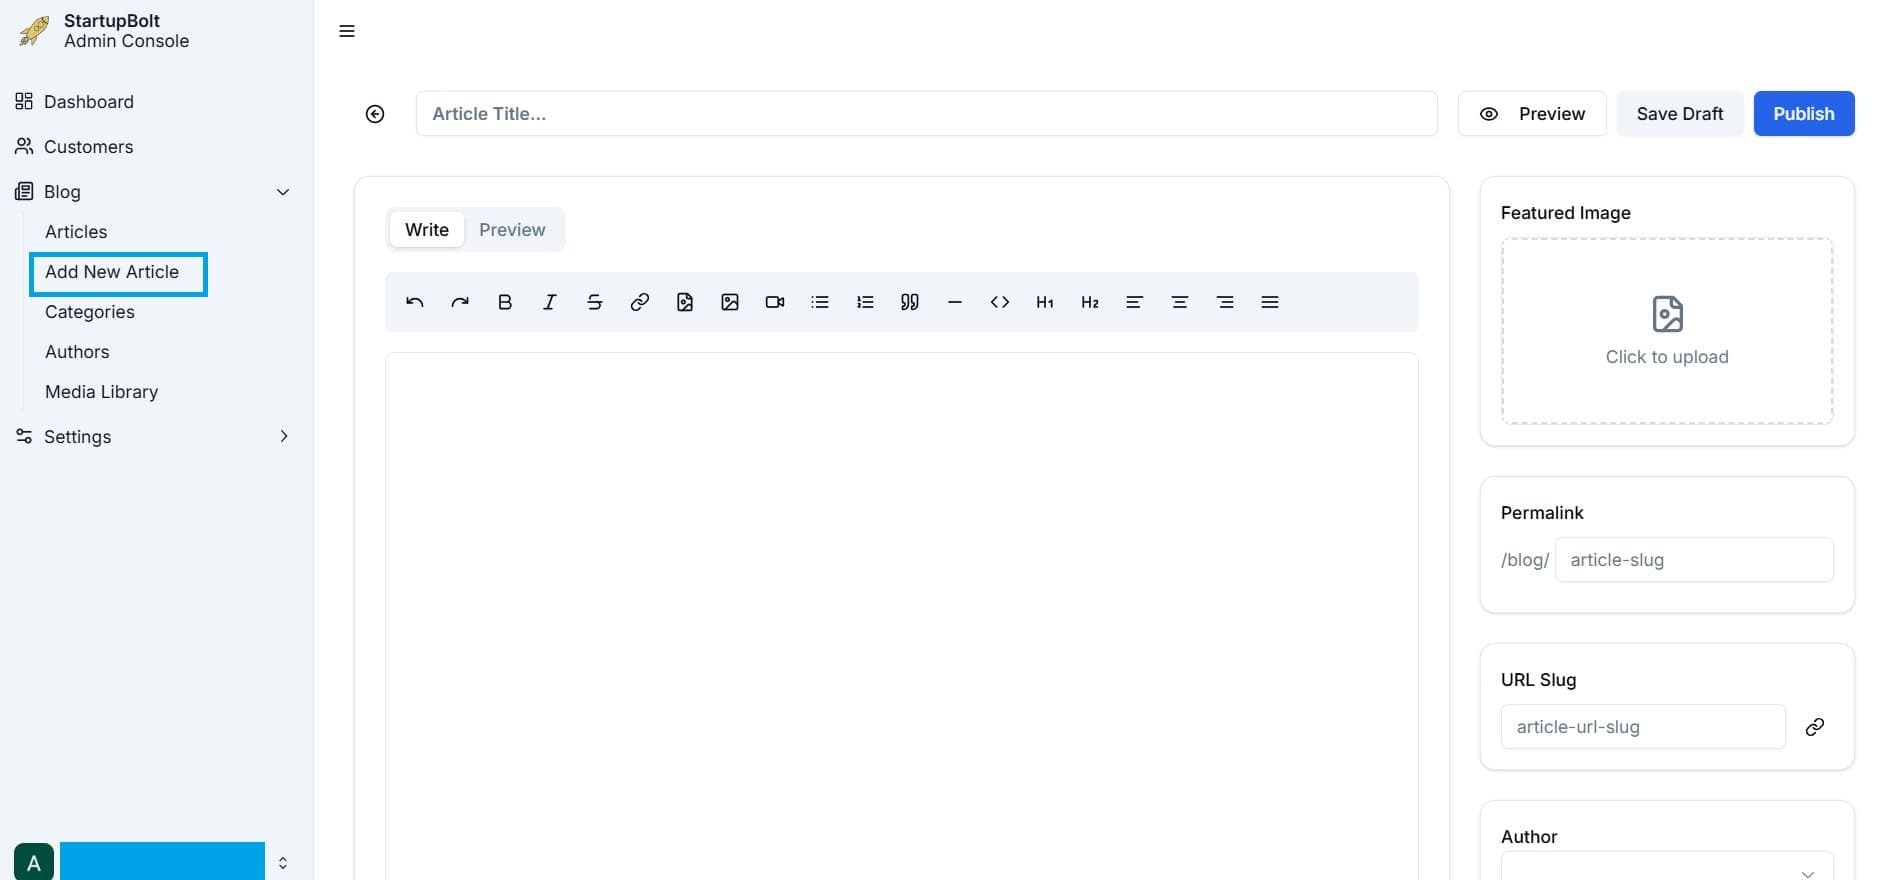
- Navigate to Blog > Add New Article in the sidebar.
Article Fields
- Article Title: Title of the article.
- Featured Image: For SEO & social sharing.
- Permalink & URL Slug: Recommended to avoid changing after creation for SEO purposes. Auto-generated if left blank.
- Author: Select an author for the article. An article can have at most one author.
- Publication Date: Date of publication of the article. Set a future date if you want to schedule the article.
- Categories: Select the categories for the article. An article can have multiple categories.
- Excerpt: Excerpt of the article. This is the text shown in the blog/article list page.
- Meta Title & Meta Description: SEO fields that appear in search results.
- Content Editor: (Refer to the Content Editor Guide)
You can preview, save drafts, or publish articles.
Articles
Navigate to Blog > Articles to view all published and draft articles.
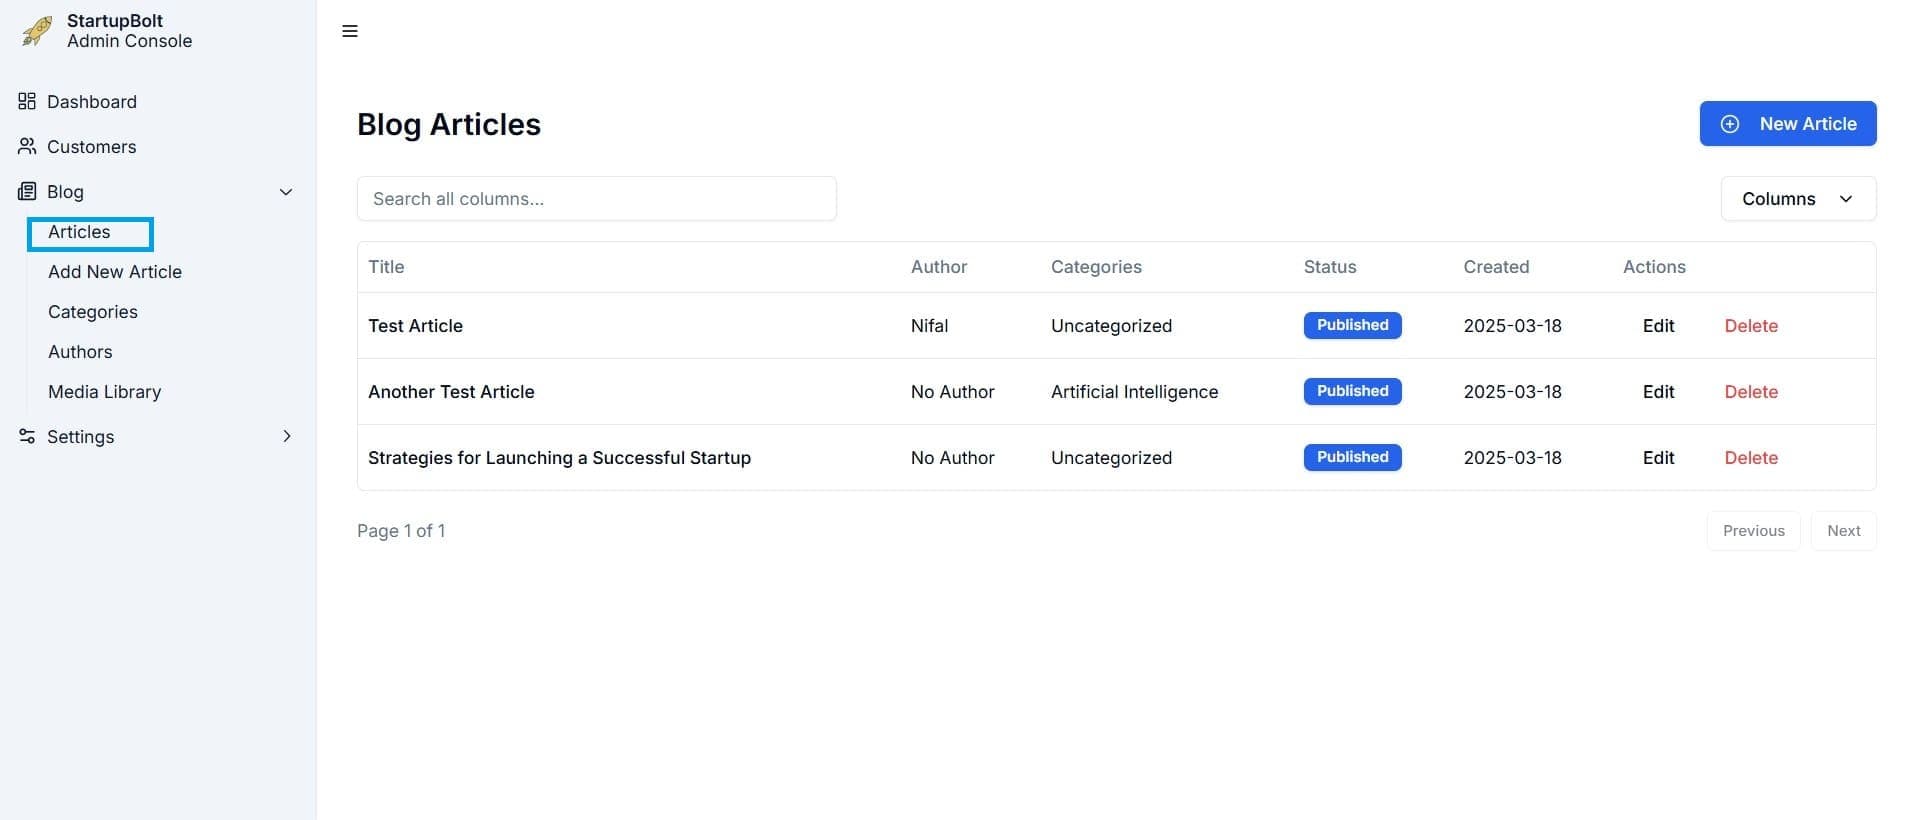
You can also edit and delete any article from this page.
Permissions for Articles
- Admins & Editors: Can view, create, edit and delete all articles.
- Authors: Can view all article. And they can create, edit and delete their own articles.
- Contributors: Can view all articles. And they can create and edit their own unpublished articles. They cannot delete any articles.
Media Library
The Media Library is used to upload and manage images for your blog.

Uploaded images can be used as featured images for articles or within the content editor. You can copy the relative path of an image for use in the content editor. (Refer to the Content Editor Guide)
Viewing the Blog
- Local Development:
http://localhost:3000/blog - Production:
https://yourdomain.com/blog(replace with your domain) - If the blog URL is customized in settings, adjust accordingly, e.g.,
https://yourdomain.com/articles
Final Remarks
This guide provides a comprehensive overview of managing your blog efficiently. Ensure that permissions are set up correctly to maintain a structured workflow within your team.