Crisp Chat Integration for StartupBolt
Overview
Integrate Crisp Chat into your StartupBolt application to provide real-time customer support. This guide will walk you through the process of setting up a Crisp account, configuring it with your website, and updating your settings.js file.
Set Up Crisp Account
-
Sign up for Crisp
- Visit Crisp Chat (opens in a new tab) and create a new account.
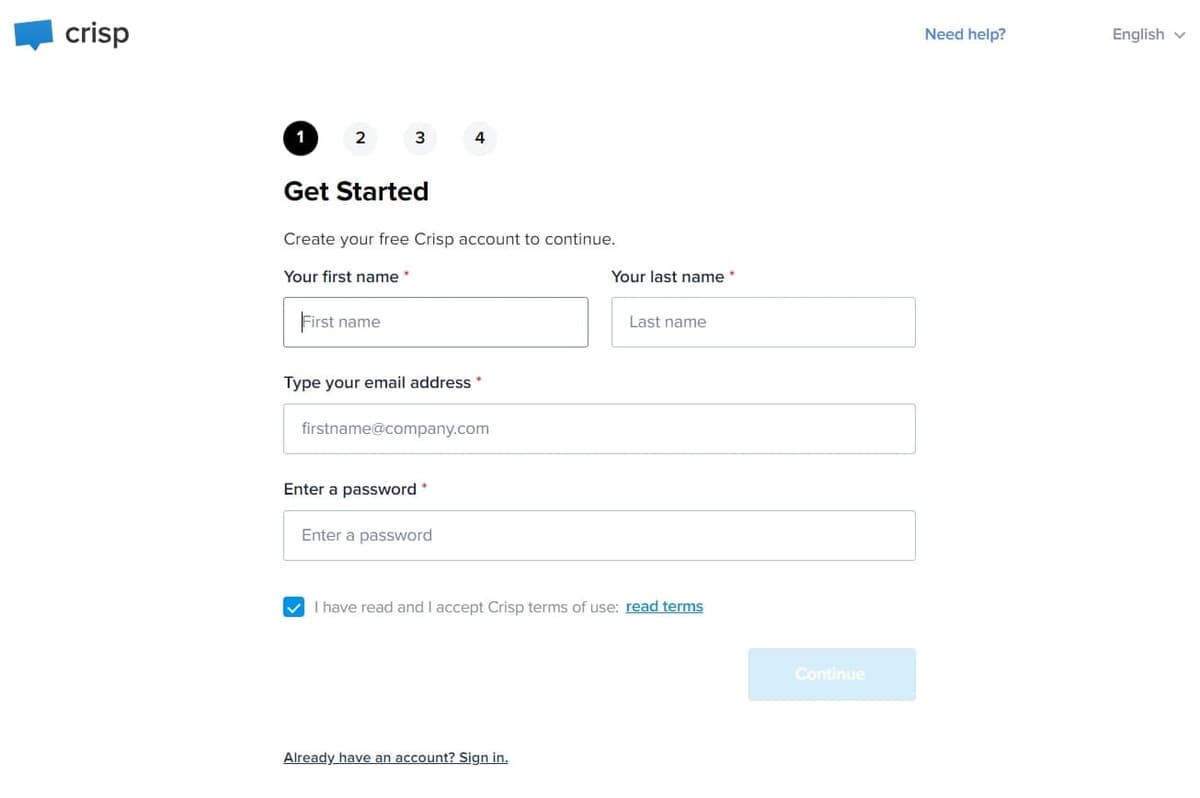
-
Configure Website Settings
- Navigate to Settings > Website Settings, and click on Settings next to your website name.
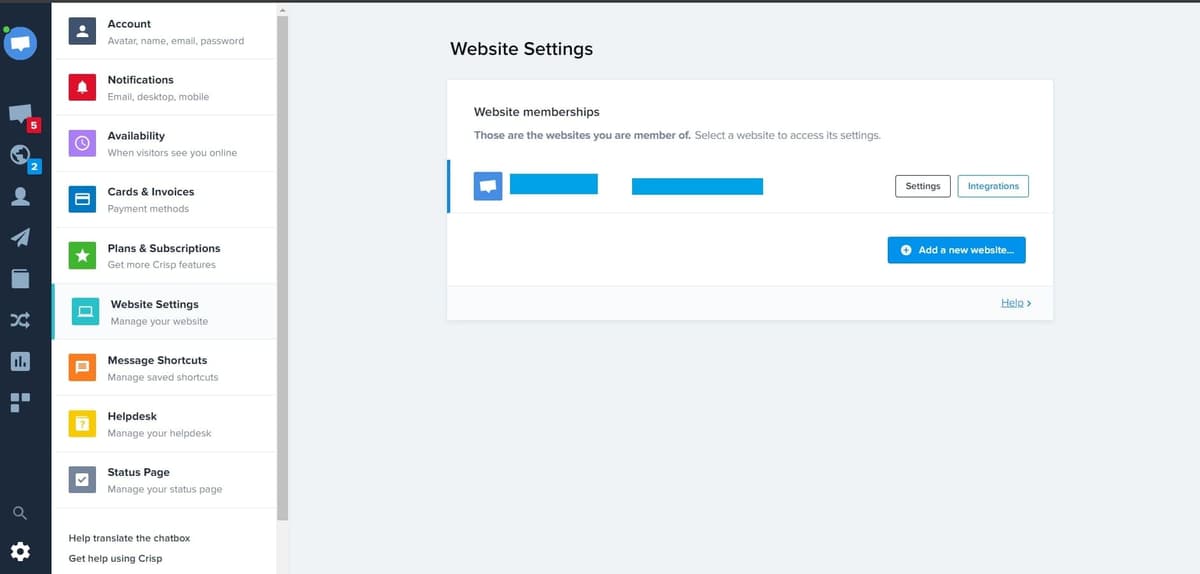
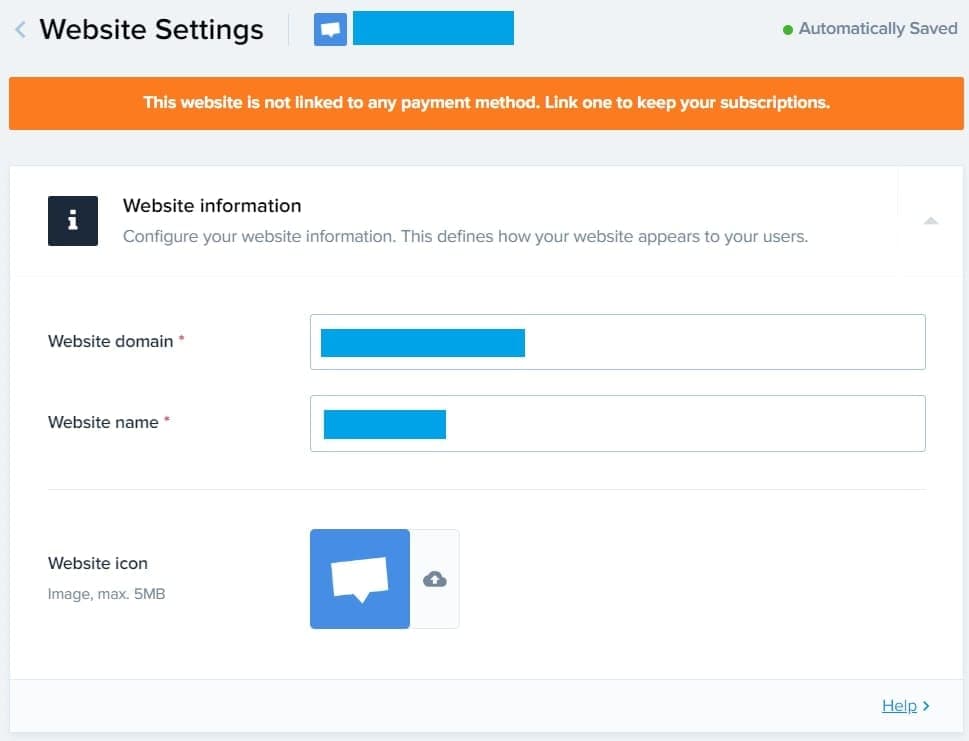
- Then click on Website Settings. Ensure your website domain, name, and icon are correctly set.
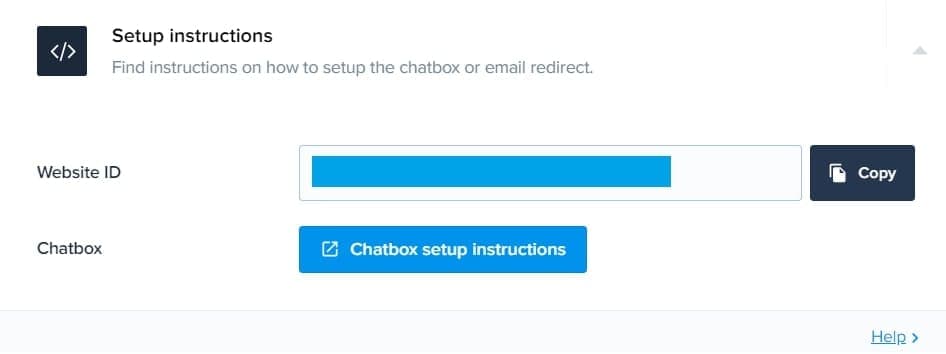
- Proceed to Setup Instructions and copy the Website ID. You will paste this into the
settings.jsfile in the next step.
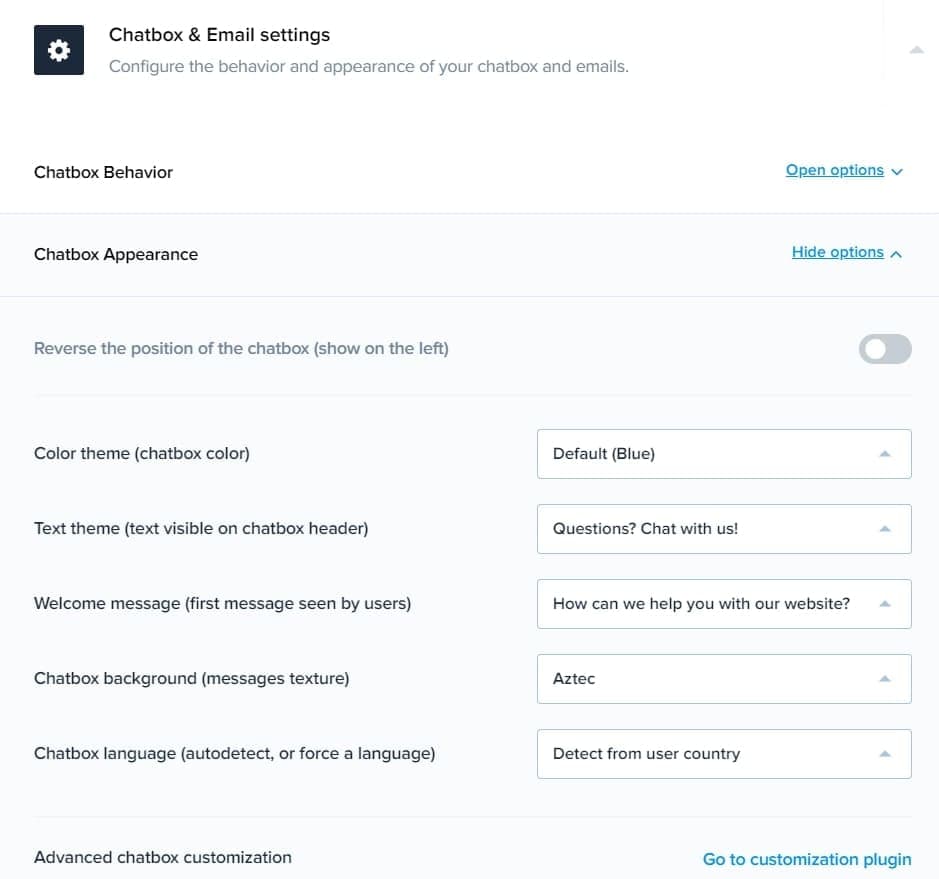
- Adjust any settings under Chatbox & Email settings as needed.
- Customize the Welcome Message to greet your users appropriately.
-
Additional Customization
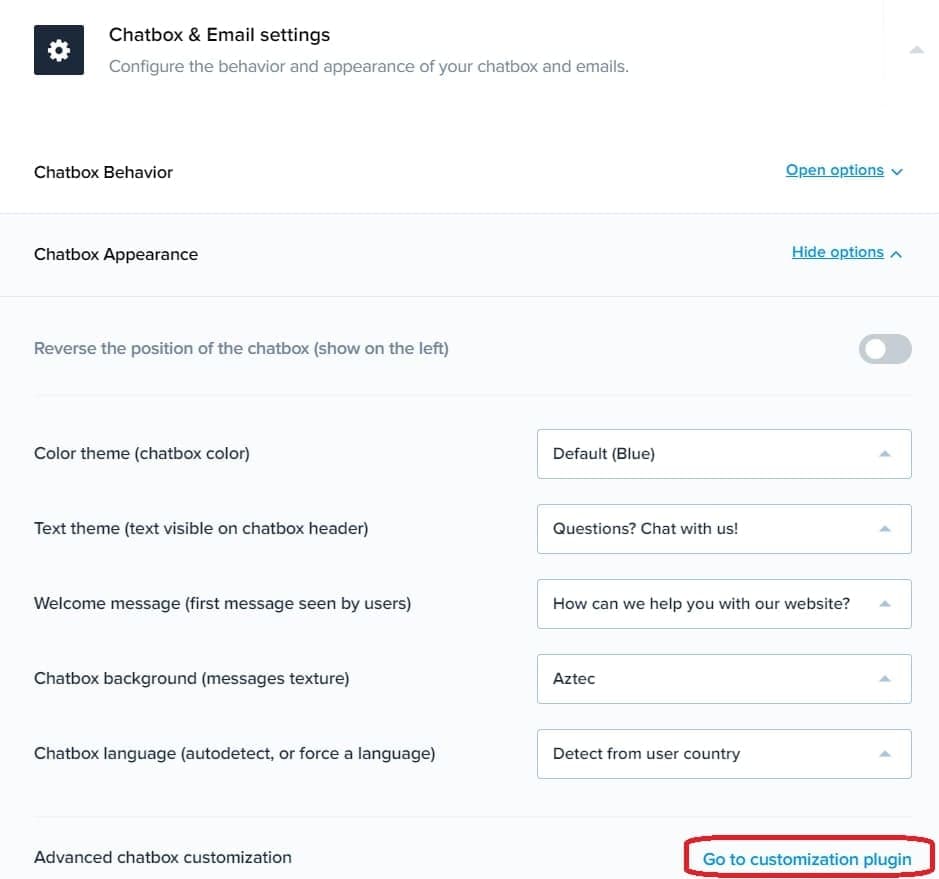
- For further customization, consider using the Customization Plugin, available with the Pro Plan at $25/month after the trial period.
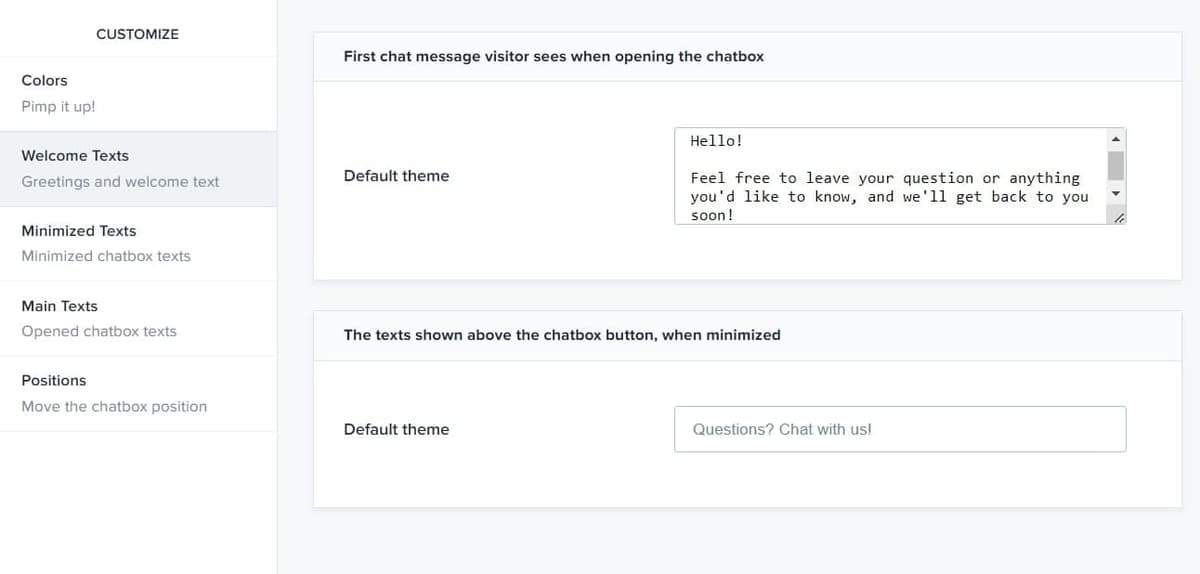
- We recommend personalizing the welcome message:
I'm here to help!

Feel free to ask questions, report bugs, or share feedback, and I'll get back to you soon!
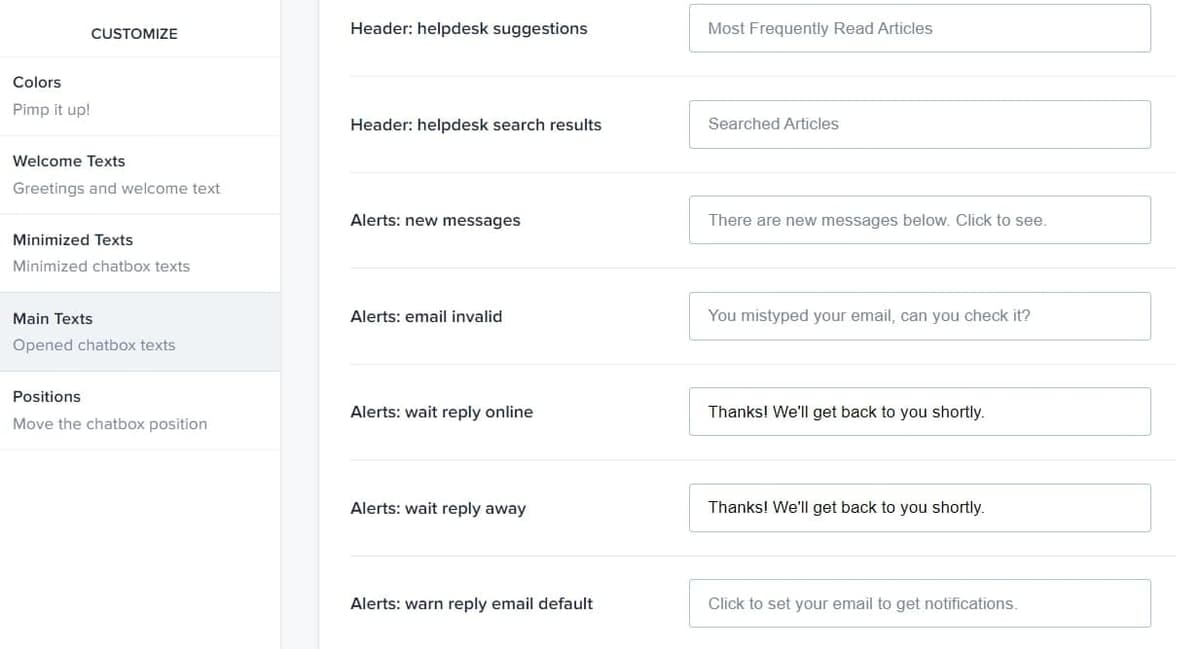
- Also, update the Alerts: wait reply online and Alerts: wait reply away messages to:
Thanks! We'll get back to you shortly.
-
Always Online Mode (Optional)
- Crisp displays the last time your support was active. If you've been offline for a while, it might show as several hours or even days.
- To hide your last active time and appear as always online, follow these steps: Navigate to Settings > Availability and "Enable Availability Schedule" for all days.
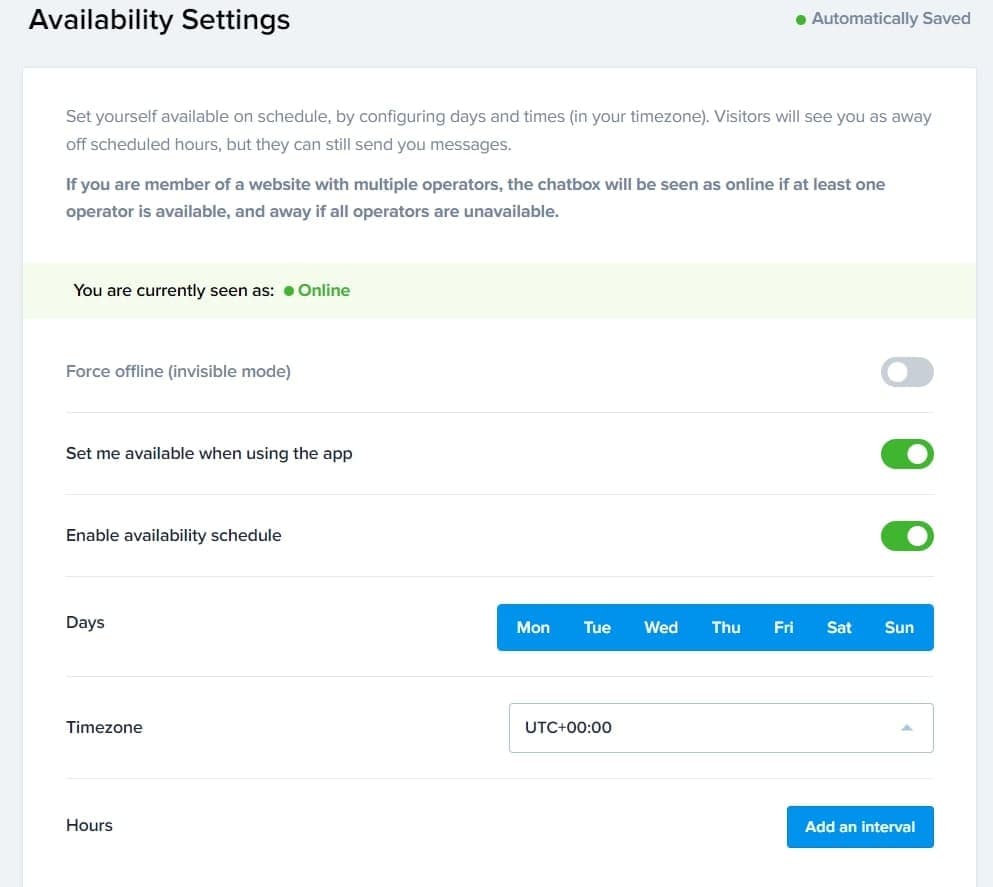
-
Custom Email Domain (Optional)
- If you wish, you can set up a custom email domain. This feature is available only on the Crisp Pro plan, but you can still use it during the trial period.
- By default, Crisp emails come from an unusual address ending in something like
.on.crisp.email, which can appear unprofessional. It is recommended to change this. - To make the change, go to Settings > Website Settings, and click Settings next to your website name.
- Then, click on Advanced Configuration and expand the options under "Custom Email Domain." Enter a custom domain, such as
support.yourdomain.com.
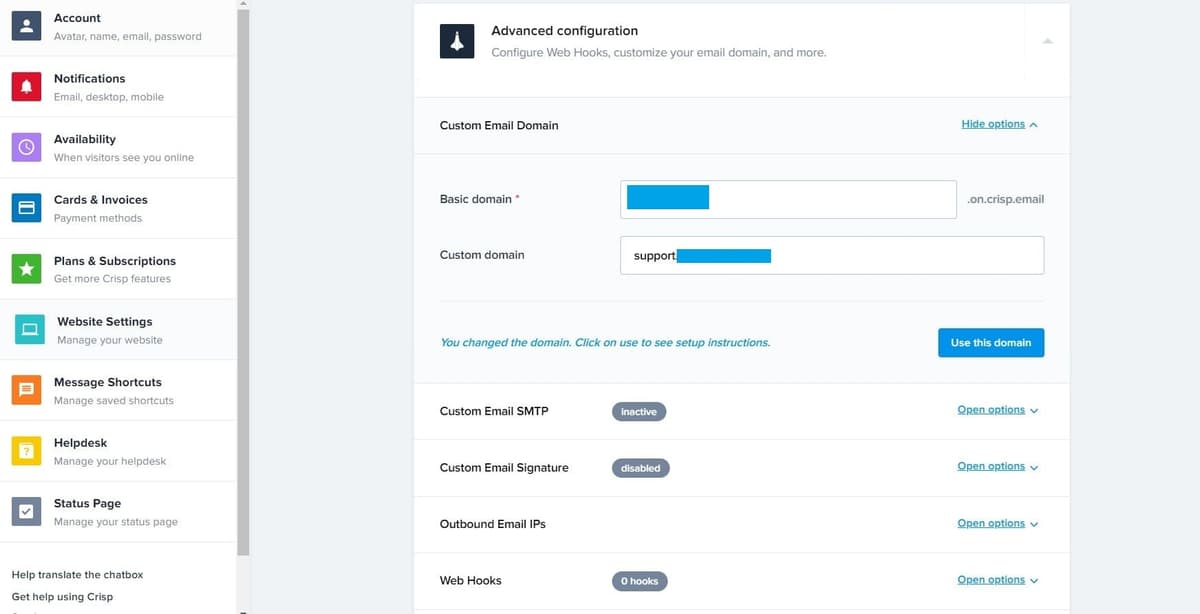
- Next, click "Use this domain."
- Log in to your DNS manager (e.g., AWS Route53, Cloudflare, Namecheap, etc.) and carefully add all the provided DNS records. There will be several, so make sure to enter them all accurately.
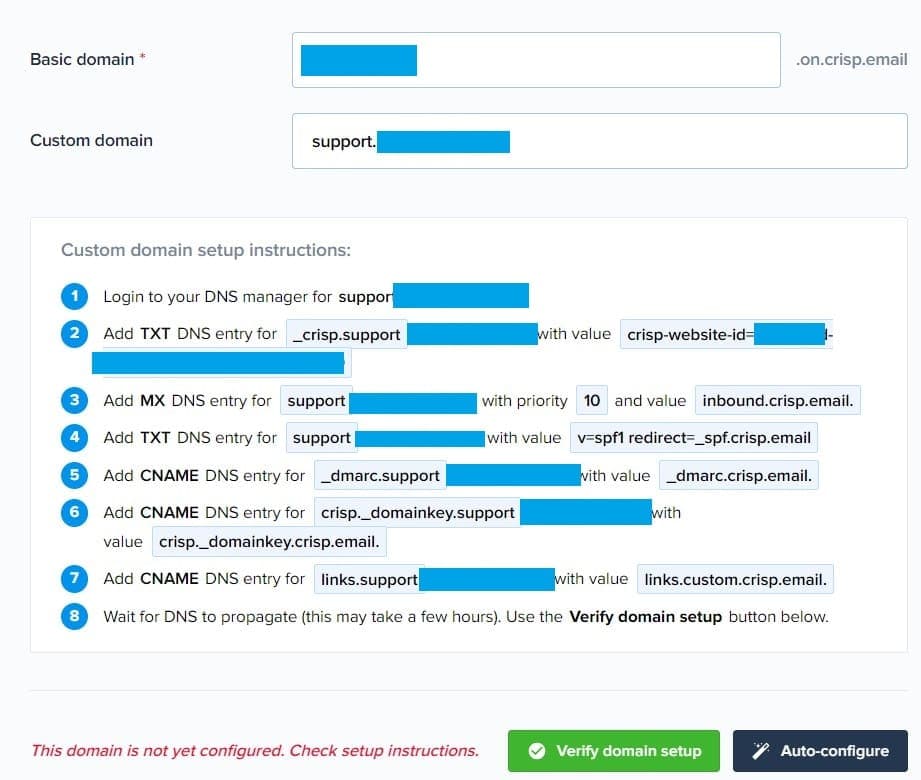
- After adding the records, click "Verify domain setup." If everything is correct, Crisp will notify you almost immediately.
- To test, try sending yourself a chat message and check if the emails are coming from your custom domain (e.g.,
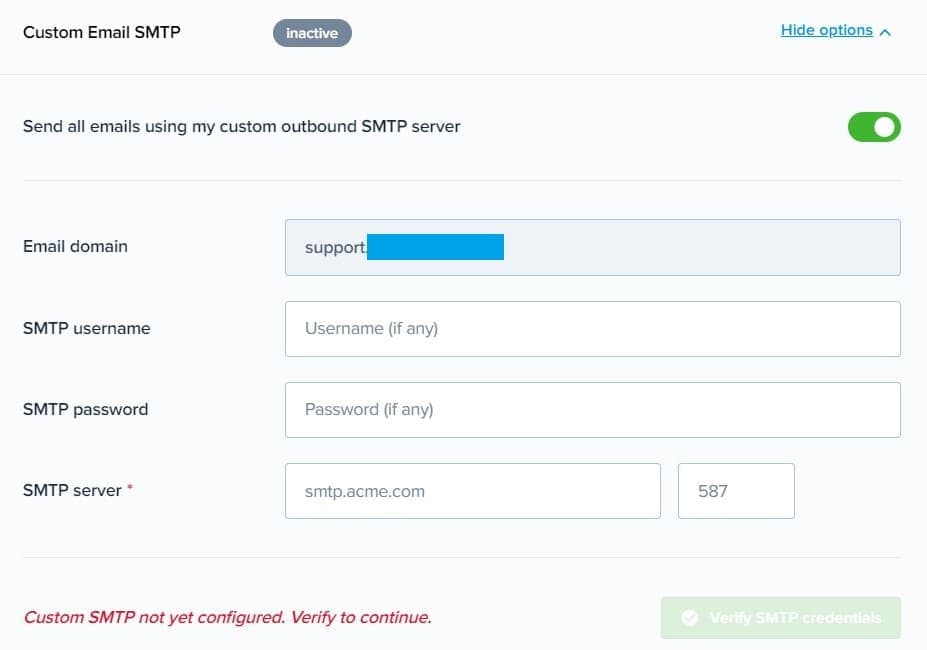
support.yourdomain.com). - Finally, if you prefer not to use Crisp to manage your emails, you can configure "Custom Email SMTP" using services like Resend or Mailgun. This step is optional and generally not necessary for support emails.
Crisp Settings in settings.js
The settings.js file, located at /settings.js, is the central configuration file for your StartupBolt application. This file contains various settings that control different aspects of your app, allowing for easy customization and management of your project's core parameters. It is important to update these configuration values according to your product or service needs.
-
CRISP
- Set
crispSiteIdto the Website ID you obtained earlier from Setup Instructions > Website ID. - Enable or disable Crisp Chat by setting
enableCrispChattotrueorfalse.
const CRISP = { enableCrispChat: true, crispSiteId: "your-website-id" } - Set
Conclusion
By following this guide, you have successfully integrated Crisp Chat into your StartupBolt application. This will enhance your customer support capabilities, allowing for real-time interaction with your users.